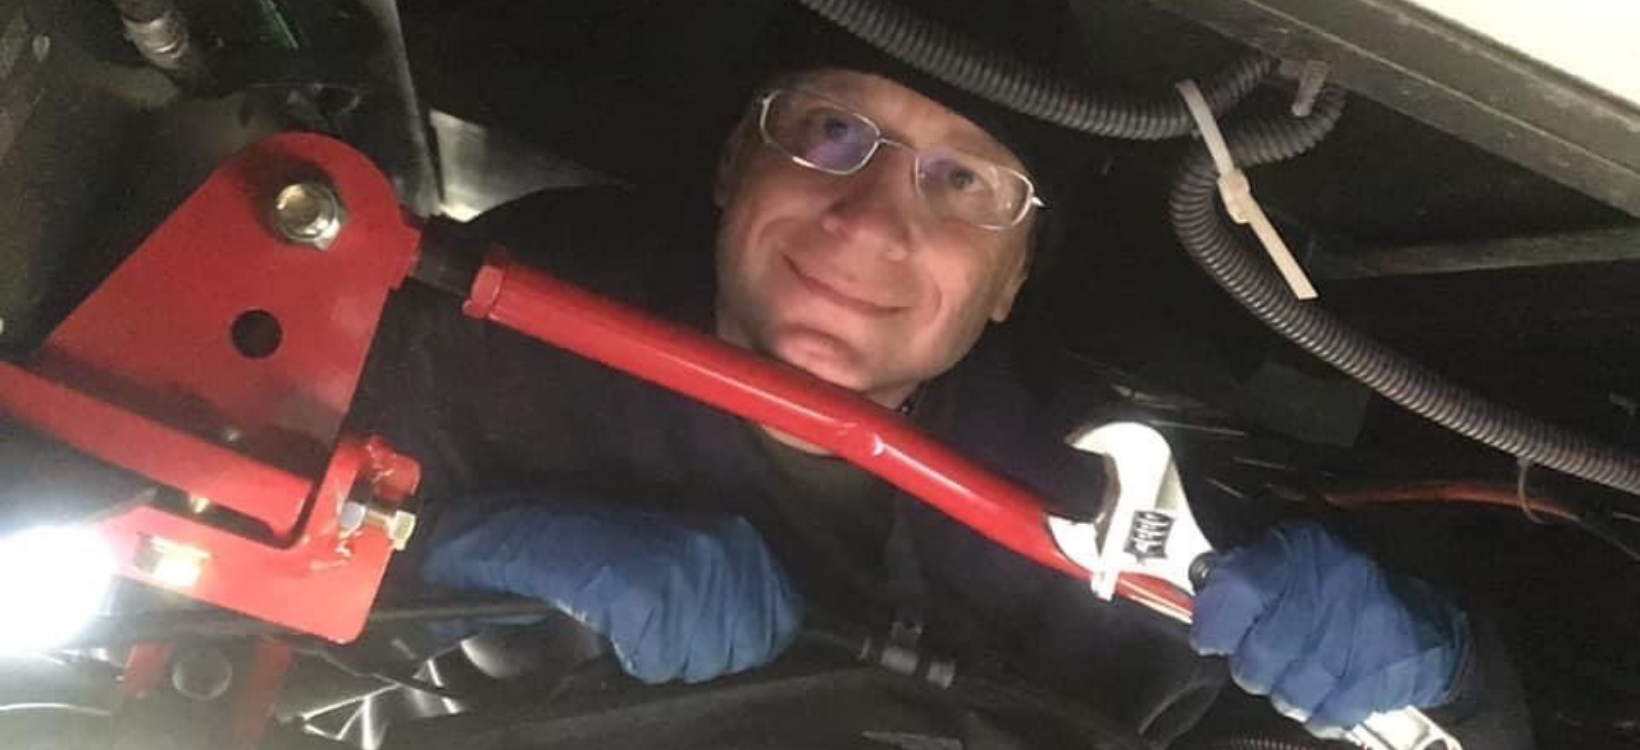
I bet you’ve heard the story too many times. The RV owners and families who are extremely frustrated because their RVs sit in RV service and repair facilities for weeks or months, waiting in line for relatively minor repairs. In the meantime, the prime camping and RV-travel season swiftly moves along without them. Delays and unfulfilled repair promises can even ruin precious long-scheduled vacation plans!
Or perhaps you love your RV, and you really want to add some cool upgrades. Maybe you have ideas for changes that will make your RV more livable and practical, as well as give it a homier feel. But you are putting off these great ideas and improvements because you’re not sure you can handle them yourself, are lacking information, and may be unsure of where to begin.
Here’s the thing…you never know unless you try! You may not realize it, but there are a great many DIY repair, modification, and upgrade projects, both small and large, that you can accomplish on your own RV that will pay off in many ways. Things you can do to save money, save time and hassle, and boost your RV’ing confidence. Later in this article, you’ll see a list of just a sampling of the many things that the average RVer can do!
Benefits of Tackling DIY RV Repairs and Upgrades
There are many advantages of doing your own RV repairs, modifications, and upgrades:
Save yourself money!
Dealers and repair shops are expensive, often charging labor rates of $125-$175/hour and premium margins on parts. Mobile RV techs, while more convenient and quicker, also charge hefty service fees. They typically charge a flat minimum service call fee ($50-$75) just to come to your location, whether any work is done or not. Then the labor rates start, which may (though not always) be less than RV dealer service and repair rates, but still in the $100+/hour range.
Save yourself some time!
You can avoid the long waits just to get your RV into the dealer’s shop, and even longer waits for the work to finally get done.
Save yourself the hassle!
By taking on your own RV DIY projects, you can avoid the hassles of service appointment scheduling, RV transport logistics (what if the nearest dealer is 50 or more miles away?), canceled trips and plans, frustration, and disappointed family members.
Feel good about your accomplishments and be an RV hero!
Those other benefits are good, but there’s nothing like that feeling of completing a DIY RV project and having it turn out great! It also helps to “score points” with your spouse, partner and/or your camping kids!
Sources of Information, Guidance, Parts and Supplies
Okay, so you finally tell yourself, “I’m not waiting any longer! I’m going to do this RV project myself!”. Where do you find the information, guidance, parts, and other resources to accomplish your DIY RV upgrade, modification, or repair project?
Thankfully, there are more helpful sources out there than you can shake an RV sewer hose at! (Be careful shaking that hose!)
Here are a few resources to get you started:
“Google is your friend!”
It’s a great place to start. Just enter in search keywords related to your RV project idea, or repair needs, and you’ll have a list of sources for learning and information. From there, start narrowing down your search to your specific needs.
YouTube videos can be very helpful!
They are an excellent source of how-to information, typically from fellow RVers who have already done the same project or repair on their own RV’s. Good YouTube RV content creators can help you plan your projects and even guide you through each step. BUT be careful! Not everyone out there knows what they’re doing or talking about, right? So, seek out reputable, credible sources who have real, practical experience and who have a large, dedicated following with positive reviews.
Manufacturer websites offer a plethora of manuals, tech support, and informational and instructional/installation videos.
These are great resources for definitive manufacturer recommendations that may apply to your DIY RV project and, importantly, your specific RV.
RV forums and Facebook groups can also be useful sources of inspiration, ideas, and assistance for DIY RV upgrade or repair projects.
Many fellow RVers have done what you are about to do and often post about their projects. Do keyword searches in the RV forums and groups first, and then post up your questions to fellow group members. A word of caution, however. As with YouTube resources, be very cautious about advice received on social media. Again, not everyone knows what they are doing or are correct in what they state. Assess any online advice for credibility and seek to verify it before applying it to your own project or repair. This is especially critical with RV electrical, propane gas, and other life-safety related topics.
“Phone a friend!”
Reach out directly to other RVers who have done your project or repair on your or a similar RV. This works well in the RV forums and Facebook groups. Don’t be shy. RVers tend to be a very helpful bunch in general and will welcome you reaching out to them directly for details about how they did what you are planning to do.
Books!
Yes, it’s not all about the internet/online media. Scores of good old-fashioned books are out there, either hard copy or digital, that will also provide you with helpful information and resources.
For parts and supplies, Amazon rocks, often with fast, free shipping!
But places like Lowes, Home Depot, ACE/local hardware stores, retail RV supply stores, etc. will also likely have many of the supplies you need, especially if you don’t want to wait for shipping deliveries.
DIY RV Upgrades, Modifications, & Repairs that YOU can do!
Everyone possesses different levels of “handiness” and perceived abilities. (Notice that I wrote “perceived” there? Often, you are limited only by what you think you can or cannot do. So, stretch your perceptions and give a DIY project a try!) There are so many RV projects that the average RVer can accomplish with little or no experience and with basic tools. Even if a special tool is needed, you can either purchase or borrow it on a per-project basis.
So, what types of DIY RV projects might you want to take on? Here is a lengthy list of upgrades, modifications, and repairs, many of which we’ve done on our RV (a 2017 30’ Class A motorhome in which we travel full-time). Some require more technical know-how or mechanical ability than others, but all are doable with added knowledge (remember those information resources?) and maybe a little assistance from veteran fellow RVers. Perhaps you already have a few of these projects on your own wish list, and hopefully this will give you new ideas to add!
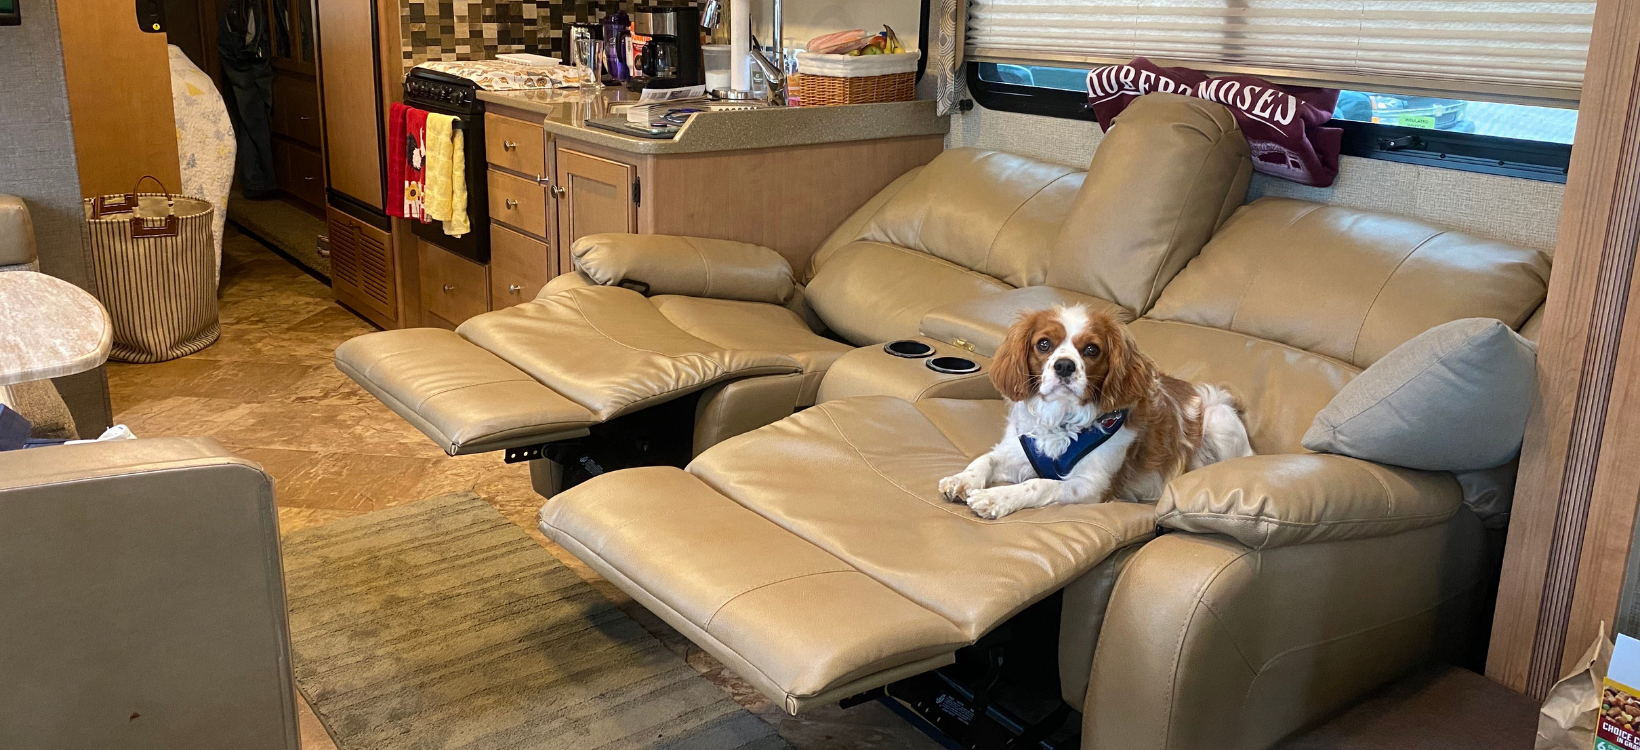
- Replacing RV furniture – swapping out factory sofas for comfy theater seat recliners is a very popular DIY project.
- Adding decorative “stained glass” cling film to bathroom skylights.
- RV seals maintenance – inspecting and re-doing roof seals and lubricating/treating slide-out, door and window gaskets.
- RV freshwater pump replacement or repair. (Do you carry a spare pump? We do, and we needed it once! Then, we repaired our old one.)
- Inspecting and cleaning your freshwater line filter periodically.
- Adding an accumulator tank to your freshwater system to reduce pump cycling and noise, and increase pump longevity.
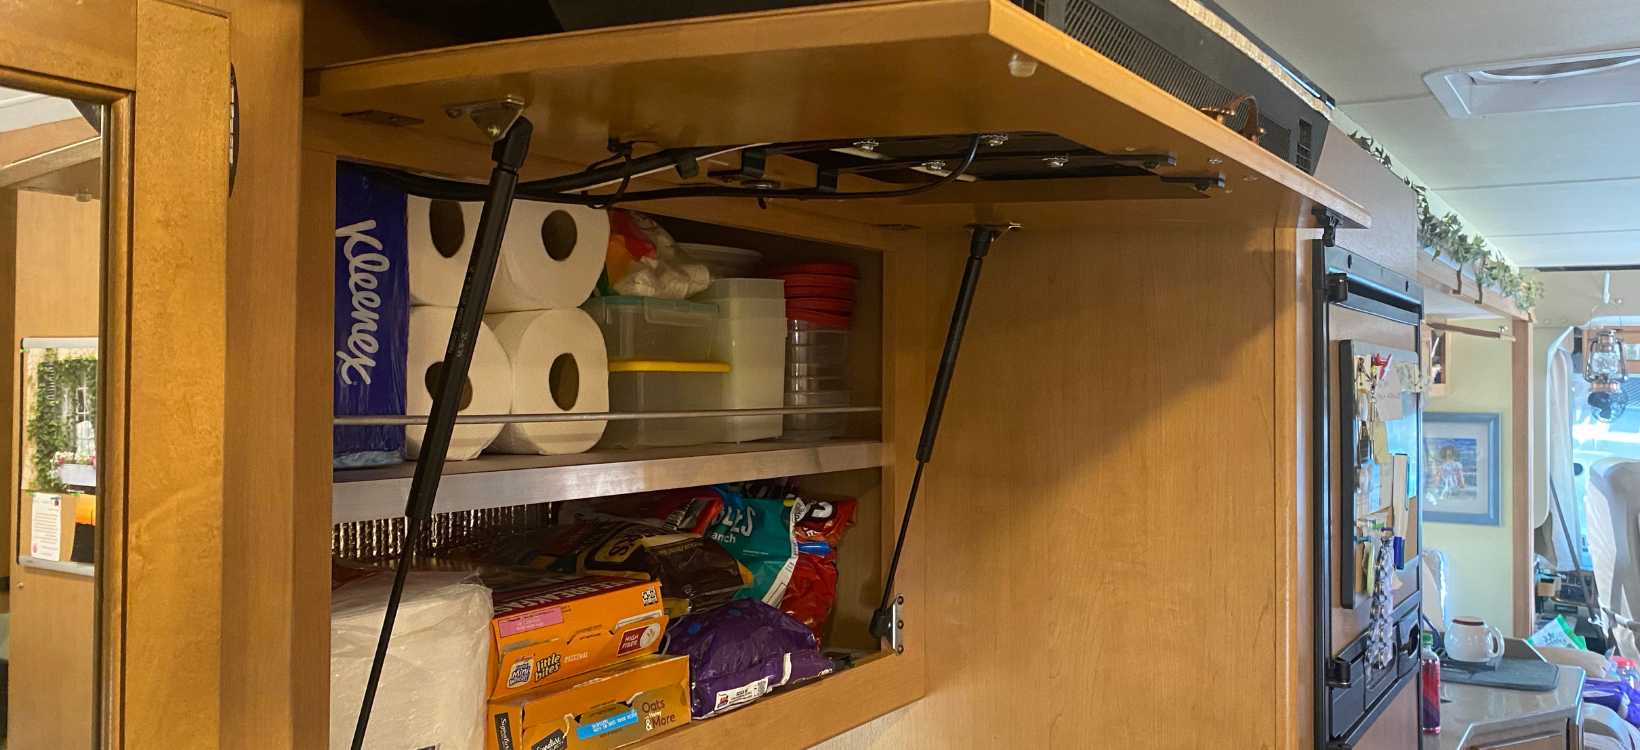
- Adding storage shelves. RVs always need more storage!
- Adding cup holders to replace those notoriously ineffective factory cup holders. Amazon is a great source for these, or you can make your own.
- Replacing a hydraulic leveling system line that fails (it’s actually not as hard as it may sound, and no special tools are required. Ask me how I know!)
- Adding Reflectix insulation on outside walls of cabinets and wardrobes, which can help with RV heating and cooling.
- Installing an under-table “junk” drawer to your dinette table (“Add-A-Drawer” is a good one!).
- Simple shoe storage solution – adding “shoe pockets” at the end of the bed platform. We added room for 12 pairs of shoes, all hidden away!
- Replacing your existing factory holding tank sensor monitor system with one that actually works (SeeLevel II is a great system. Installation is a little complicated, but worth it!).
- Adding individual personal over-bed reading lights – much nicer than the harshly bright standard RV lighting and simple to install.
- Upgrading a chassis battery to AGM and house batteries to AGM or lithium.
- Replacing front LED running lights.
- Adding a steering stabilizer, a rear track bar; heavier sway bars and other suspension upgrades. These may require special tools and more mechanical ability, but often your local mechanic/auto service shop can help with aspects of these projects. Think creatively and ask!
- Adding a 2nd AC on a separate 20-amp circuit to a single AC/30 amp smaller RV. More complex, yes, but still doable with assistance.
- Adding EasyStart or SoftStart modules to RV ACs to take start-up pressure off your RV’s electrical system.
- Changing your analog AC/Heat thermostat to a digital unit.
- Increasing AC airflow and cooling with an easy foamboard modification.
- Replacing a leaky city water connection.
- Adding a freshwater fill locking cover.
- Replacing a faulty step motor and gearbox.
- Doing your own oil and filter changes is a big money saver.
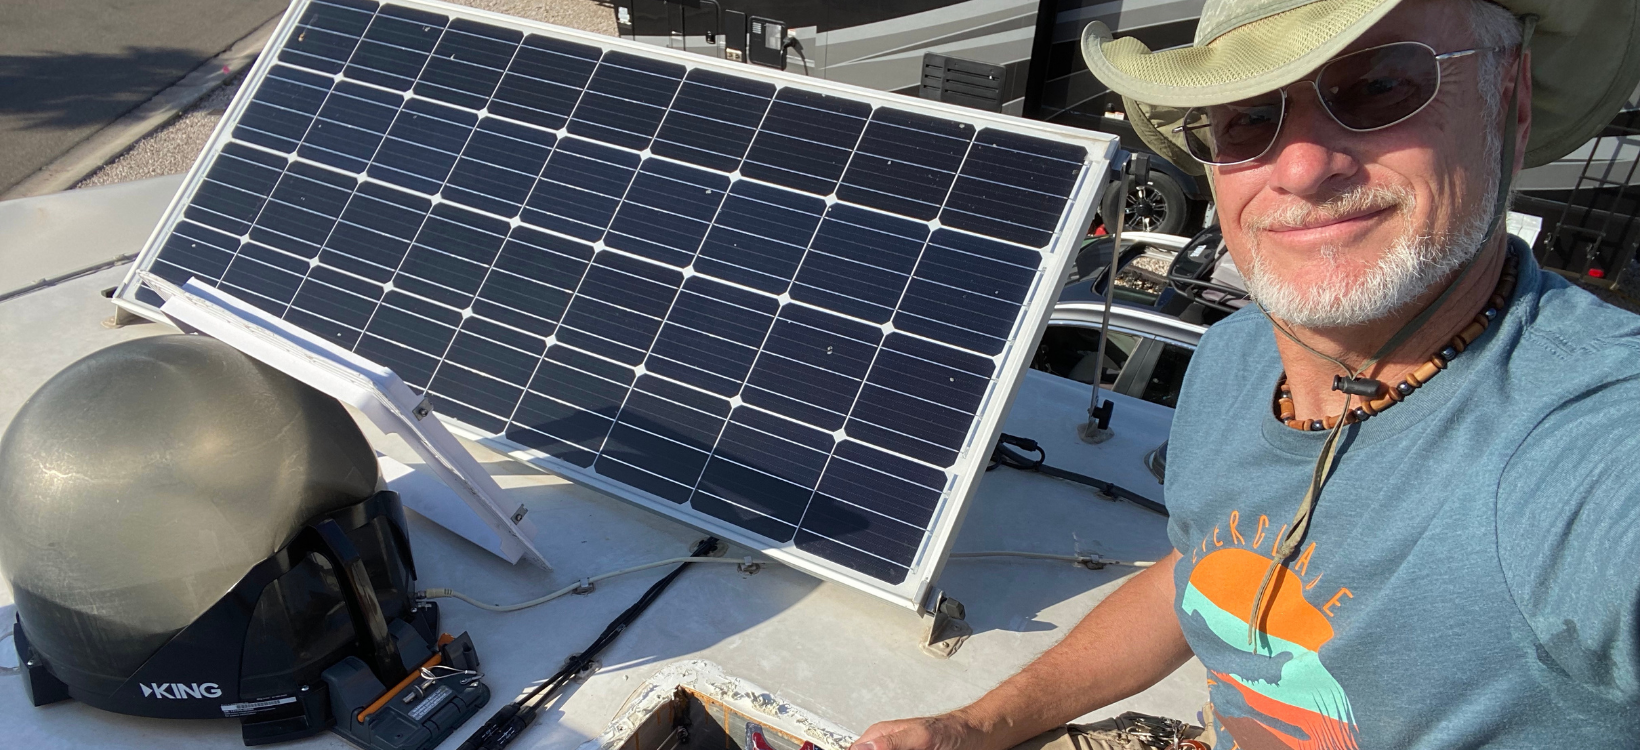
- Adding a solar system to your rig. There are many turn-key kits and lots of assistance available for DIY installations.
- Adding a roof vent fan; MaxxFan and Fantastic Fan are two popular options.
- Replacing leaky toilet bowl gaskets and flush valves.
- Replacing your bathroom or galley sink faucet.
- Adding a shower water diverter to conserve fresh water.
- Upgrading your RV shower head for better water flow and pressure. The Oxygenics Body Spa and PowerFlow models are popular.
- Replacing glass shower doors with an extendable shower curtain rod by Stromberg-Carlson or a retractable RV shower door by Nautilus.
- Replacing faulty (read: smelly) “air admittance valves” under your bathroom or galley sinks.
- Adding a central vacuum system. The Dirt Devil CV1500 RV central vac is an easy upgrade.
- Adding a “rock guard” flap under the rear of your RV to protect your towed vehicle. (The UltraGuard Rock Guard is a good option.)
- Installing a wire basket inside the wet bay compartment door to hold gloves and hand sanitizer.
- Replacing faulty awning light strips.
- Adding a RV screen door crossbar/push bar handle.
- Adding a pet leash hook on the street-side of the RV so you can have your pup out there with you when working on things on that side.
- Replacing/upgrading a bedroom headboard to something more personal and attractive.
- Making/adding curtains in place of standard RV factory blinds and valances.
- Painting and wallpapering to personalize and brighten up your RV interior.
- Adding gas struts to your under-bed storage lid for easier access.
- Adding a retractable (up/down) and swiveling TV bracket for the living room so that you don’t have to crane your neck looking up at that TV the manufacturer mounted way too high.
- Adding a hard-wired EMS/surge protector. (EMS = Electrical Management System)
- Installing the ARP Fridge Defend RV absorption refrigerator safety module.
- Adding a better battery monitor to keep good track of your RV’s 12v battery systems.
- Installing solar-charged motion-detecting “stick-on” lighting by your RV steps and to light your campsite utilities area.
- Adding WiFi antennas and cell signal boosters to stay connected, especially if you work remotely from your RV like we do. (Looking for more ideas on building out your mobile workspace? Check out these DIY setups from fellow working RVers!)
- Minor electrical/fuse troubleshooting and repair using a multi-meter (a must-have and inexpensive tool that every RVer should keep handy).
- Installing a brighter LED outdoor “porch light”.
- For more ideas on how to redecorate, renovate, and update your RV yourself, check out this webinar where several experienced RVers shared their tips, tricks, and projects!
Final Notes and Precautions
Hopefully, we’ve given you enough information, ideas, and inspiration to want to tackle your own DIY RV upgrades, modifications, and repairs. However, also you’ll want to take some precautions.
Do your research, verify any information or advice given to you, and shop around for the best products and prices. If you are uncomfortable or unsure about any aspect of your project, seek guidance from folks who know what they are doing. Don’t attempt projects that you really don’t feel qualified to do and that may be a safety risk.
Plan your projects carefully. Make lists of the parts and supplies you’ll need, as well as be realistic about the time it will take. My motto is that everything takes longer than I thought it would, especially when doing a project for the first time with little or no experience. Make sure you undertake your project at a time and in a place convenient for those unexpected, but inevitable, trips to the store. There will be something you didn’t know you needed, ran out of, or forgot. There’s not much more frustrating than needing to go to a store at 8pm for that one last item to finish a repair or upgrade…and the finding the store closed at 7pm!
Congratulations, You Did It!
What a great feeling to finish your own DIY RV project without relying on a dealer, repair shop, mobile tech, or other professional source! By doing your own appropriate repairs, upgrades, or modifications, you’ll likely save yourself money, time, hassle, and frustration. You may even salvage a long-awaited RV vacation trip by not having to wait weeks or months for a repair or upgrade to be done. Plus, the more you do on your RV yourself, the more self-confident and self-reliant you will become, both on the road and at the campground.
What DIY RV repairs, upgrades and modifications are you now going to get done? Go for it, fellow RVers!
Happy RV traveling and camping!

Author
Erik Anderson | SKP #129446
Erik and his wife Jeanne have been traveling full-time around the U.S. in their mid-size Class A motorhome since July 2020. They love hiking, biking, kayaking, and adventuring with their beloved Cavalier King Charles spaniel, “Hershey Pup”.







3 Responses
It is good to see an article by someone who “walks the talk.” Great article.
I have a 2023 Thor Chateau 25M on a Ford Chassis. The generator shuts off consistently at a half a tank. The fuel line for the generator is rubber, the tank has an auxiliary draw port.
The line runs along the frame rail to the generator. Does the Generator have an electric cut off as my dealer is telling me on the chassis main fuel pump float assembly to the dash Guage? With the auxiliary fuel port could it be the draw tube is cut short on my 55-gallon tank or could the draw tube for the 40-gallon tank be installed. Does the generator shut off when the draw tube on the auxiliary fuel port is no longer emersed in gas? I have called the Generator people; they say it’s not their problem. I have talked to Thor; they say they don’t supply the Auxiliary port for the tank. So, I called the Ford dealer 2.25 hours away who will do the warranty (if it is covered) with a lead time of 2 months (I have to take it there and leave it till it is worked on it would be a filler job). This is why I am asking the DIY professionals, has this happened before, and where do I start?
Hi John! Thanks for reaching out. While we do have experts who know a great deal about RVs, your specific question can best be answered by a generator specialist. Hop onto our RV Forum or into one of our Facebook Groups for recommendations! https://www.rvnetwork.com/, https://www.facebook.com/groups/rvtofreedom, https://www.facebook.com/groups/xscapers, and https://www.facebook.com/groups/escapeesrvclub. For the Escapees RV Club Facebook group and our Forum, RV Network, you’ll need to have your Escapees Member number handy if you have one. If not, consider joining us! Good luck!