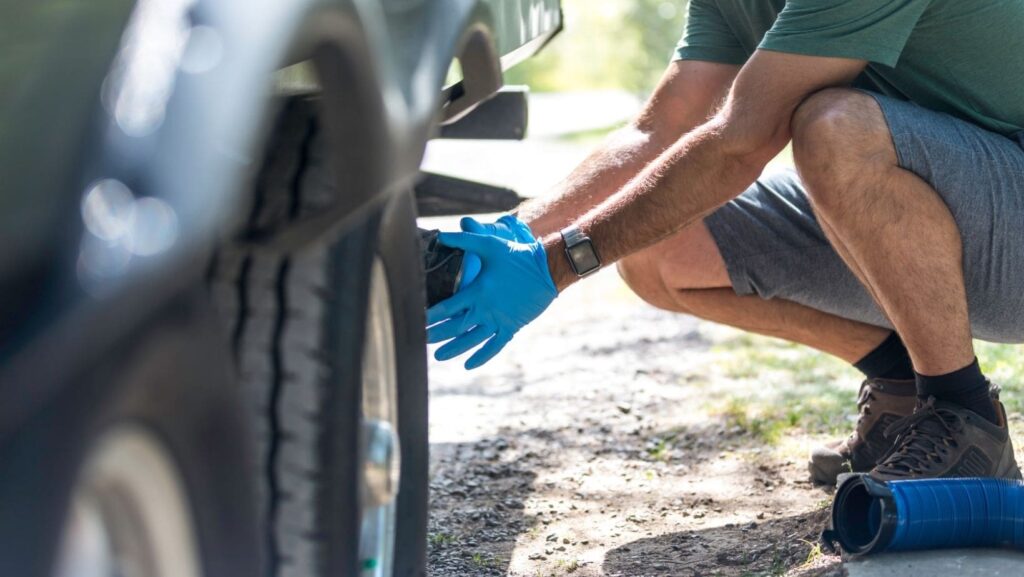
For those who are very new to RVing, your RV black tank is the equivalent of your toilet plumbing or septic tank from your sticks-and-bricks home. It’s where your RV stores human waste between tank dumpings. It’s also in the top five topics RVers discuss around the campfire. Everybody poops, even RVers. RVers just have to clean up after themselves more often!
If you’ve landed on this page, it’s probably because you’re having a problem with your RV’s black tank. Fun, right? Nothing better than waking up to a beautiful sunrise, making your morning coffee, then slipping on some rubber gloves and dragging out the plunger, drain cleaner, sewer hose, scrubber, and whatever other tools you have in your plumbing arsenal to tackle your tank woes.
Back to your black tank problems. The two most common issues with black tanks are clogs and figuring out when to dump the RV holding tank. Thankfully, they’re often related, and solving one can help solve the other, too!
Dealing With Black Tank Clogs
First, where is your tank clogged? Are you having problems emptying your tank at the RV dump station? Or are you seeing your toilet backing up when you flush?
If you’re trying to dump your holding tank, but only see a trickle of waste water coming out when you’re pretty sure your tank is full, you know you’ve got a blockage somewhere. If you are using a clear sewer hose adapter attached to the dump valves, it should be easy to determine whether the clog is in your sewer hose or in the black water tank. Looking at the clear sewer hose adapter, you can see how much liquid is coming out of the black tank. If there is a trickle coming out of the holding tank, then it is clogged.
There are all kinds of home remedies for getting things slushing around your tank again. A common culprit for tank clogs is the notorious mountain of… waste… that accumulates under the toilet drain. This often happens when you hook up to city sewer lines at your campsite and leave your black water tank drain open, allowing liquids to flow into the sewer every time you flush. Those liquids are necessary to keep the not-so-liquid components moving around the tank freely. You’ll only make that mistake once, don’t worry. If the “mountain” or “pyramid” gets hard and solid in your black tank, then you may need the service of a RV Proctologist. They will attach a high-pressure water hose to the dump valve and use a high-pressure water stream to clean out the tank.
If you’re confident the problem is inside your tank, and not the pipeline, here are a couple of ways you can try to get the dried-out pile moving again (and without causing clogs later):
- Some RVers suggest dumping lots of ice water into your black tank before heading out for a bumpy or long drive. The idea behind this is the water will rehydrate and rinse the tank’s interior while the ice serves as a gentle scrubber, working at all the dried-on spots to break them up. This works well for some and not at all for others. If you’re in a time crunch and need to relocate, this could be a good first effort to try while en route to your next stop. Keep in mind, ice melts. Likely, the efficacy of this approach is based more on the water and less on the ice, with the washing sloshing around in the tank, moving the ‘stuck’ contents around as it does so. If it doesn’t fix the problem, at least you’ll have a slightly cleaner and more hydrated tank!
- You can also fill the tank with warm water and a small amount of detergent like Dawn dish soap and let it sit for a day. This may take a few cycles to get it clean enough to flush as desired, but you’ll have a well-functioning and sanitized black tank by the time you’re done!
- If you go the chemical route, please make sure whatever you’re using is safe for RV septic systems. Just because your go-to was safe for city sewer lines in your home doesn’t mean it will be safe for your RV system. In addition to damaging the pipes, it could also damage the seals around your toilet and tanks, and/or it could create fumes that, when sealed up in a small black tank versus large sewer tunnels, are hazardous to your health. There are also treatments you can use, once your tank is back in good condition, to prevent clogs and build-up in the future. We’ll share a recommendation for this in just a minute.
- Another method is to use a sewer wand. It is attached to a water hose and is put down the toilet bowl. Some wands have a swivel head, where other wands do not have the swivel head. They both use high-pressure water to break up the solids and flush out the tank.
If you suspect the clog is in the pipe between the dump valves and the tank itself, you’ll want something more aggressive than the above options.
- Backflush your tank. This means flushing the tank from the external outlet, versus from an inside source, such as your toilet. A flush valve is handy for this, as it attaches to your black tank outlet and allows you to send somewhat pressurized water into your tank to rinse it out and break up clogs. Once it’s connected to your tank, you attach a water hose (preferably NOT your fresh water hose) to the device and either direct water into the tank or, once you’re done emptying the tank, direct it down the hose to rinse the inside of the hose. You can also find ones that are clear, allowing you to see the flow of water leaving your tank. If your water changes from murky to mostly clean, you know you’ve done a good job!
- Does it look like backflushing helped, but didn’t completely remove the clog? Try filling a large bucket with water and dumping it into your toilet. The sudden pressure from a large volume of water can help displace the remaining pieces of the clog. Make sure your exterior valve is closed, or that your sewer hose is attached and directed into the sewer dump, or you’ll end up with a mess outside of your rig!
What About a Clogged Hose?
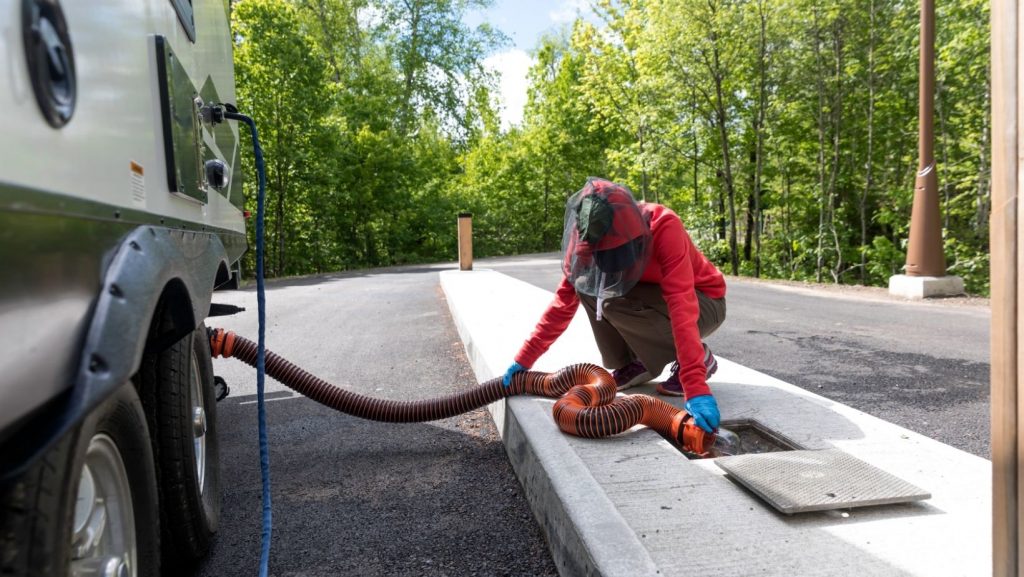
Thankfully, clearing a clogged hose is MUCH easier than dealing with a tank clog!
In most cases, you’ll notice the flow slowing down before it is completely halted by a clog. Taking the time to thoroughly rinse your hose each time you dump your tanks will keep solid waste from building up, preventing a clog.
If it’s too late for this, such as the clog happens while you’re standing at the dump station with a line of RVs behind you, there is still hope. Try rinsing the drain hose with clean water to see if anything is getting through. This can also help you figure out where in your hose the clog is located. In a pinch, you can look around for a stick, or stick-like object, that you can use to manually move the clog and clear enough of the hose for a water rinse to help clear the rest. Be careful with this approach, you don’t want to put a hole in your hose!
When you next have the opportunity, give your hose a good cleaning. An easy way to do this is using a water and bleach solution, flushing it through the hose after you empty the tank. This will help move along any residue and sanitize the hose.
An easy tip to employ, if you don’t already, is to empty your black tank first, then your grey water tank. The grey water, which is mostly soapy water from washing dishes and bathing, will help rinse away anything the black tank left behind in your hose.
If all else fails, pick up a replacement hose the next time you’re shopping and give yourself a fresh start, employing better cleaning habits with each future dump station stop! Our resident Gadget Guru, Mark Nemeth, recommends this one from Camco.
Want to see more of the gadgets & gizmos Mark recommends? We have an entire catalog of his RVer Gadget Box articles.
Emptying Your RV Black Tank

Now that you’ve gotten rid of your immediate problem, how do you go about preventing a problem in your black tank, or your gray tank, from happening again?
As we shared above, keeping liquid in your tank will help ensure the solid components don’t build up and dry out. But there is a point at which you need to dump your tank, so it is ready for more. How do you know when is the right time?
Tank sensors are notoriously inaccurate, especially those in your black tank. The tank’s contents slosh around when you’re driving, leaving residues on the inside of the tank. Short of going in and scrubbing it by hand frequently, there is no fail-safe way to keep these sensors working properly. And let’s be realistic- you didn’t set out on your RV trip to spend more time than necessary dealing with waste!
There is also a tank sensor that can be attached to the outside of the black and grey tanks to give you an exactly accurate reading. These operate differently than those inside your black water and gray water tanks and require additional effort to install which you can typically do yourself.
A better way to figure out if your tank is ready to be emptied is to pay attention. When you flush, how much water do you use? There is a balance between water conservation and maintaining an appropriate amount of liquid in your black tank. Too little water, and you’ll see buildup starting just under your toilet. Too much water and you’re emptying your tank more often than needed. Unfortunately, this is something you have to work at figuring out for yourself and your family, as volume and frequency of use vary greatly RVer to RVer and are the primary factors in figuring out your black tank situation.
There are warning signs, though, when you’re getting close to that capacity. Do you notice a different tank odor when you flush your toilet? Does your toilet “burp” when flushed? Do you see the tank’s contents clearly when flushing the toilet? Has the drain slowed down significantly? It’s possible that the contents of your black tank are now high enough to slow down the drain and potentially backflow into your toilet or maybe even your shower. Definitely time to empty that tank!
When you do empty it, make note of the date. Do this each time for a couple of dump days and you’ll hopefully see a pattern emerge, which will help you get an idea of how often you should empty it to avoid problems. There are plenty of variables that may affect that timeline, such as traveling full- versus part-time, staying in a campground versus boondocking, how many days were spent traveling, etc, but keeping those variables in mind will help you better predict when you should add a dump station to your travel route.
Curious about how to best maintain all of your RV's systems? RVers Boot Camp and RVers Online University both can teach you more about caring for your RV.
Maintaining a Healthy Black Tank
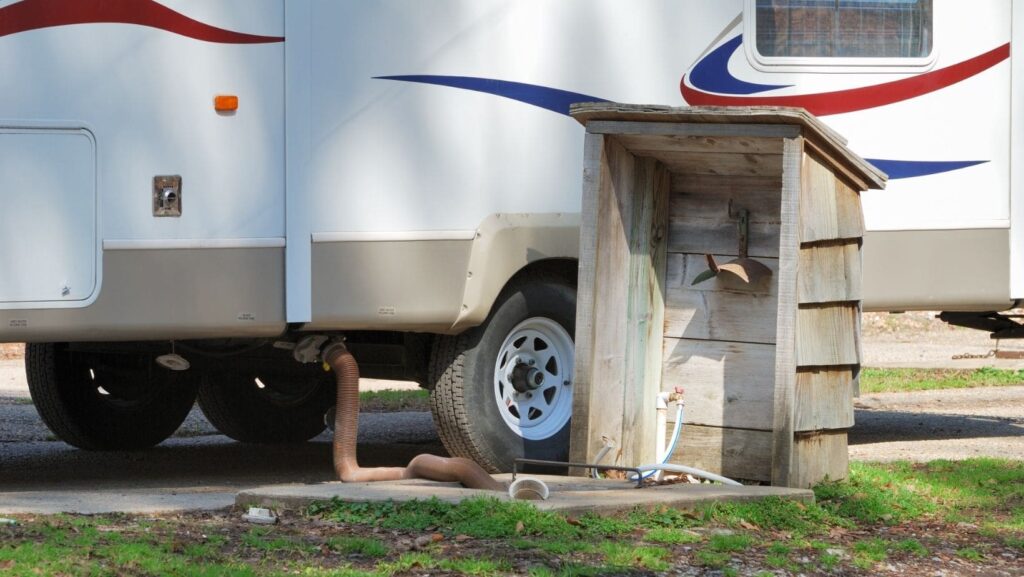
Remember, the same stuff that causes your toilet to clog… is what causes your black tank to clog. Ew. Unless you enjoy getting sewer-dirty, this is a great time to think about your waste holding tank maintenance and what behaviors and tasks you should adopt to avoid this happening again.
In addition to adopting a reliable schedule for dumping and flushing your black tank, you will want to develop a plan for keeping it in good shape between dumping. Ideally, water is the only non-waste product you need to add to your tank. For most, using an appropriate amount of water with each toilet flush is sufficient, with an occasional hot water soak to loosen any build-up and keep odors under control.
If you need a bit more, you may want to give a holding tank treatment a try! This one has been popular among many RVers and is definitely safe for your system. It comes highly recommended by our staff and other RVers.
Lastly, avoid flushing things that don’t break down in your tank. Toilet paper and human waste are the only things that should enter your black tank. Note- not ALL toilet paper is created equal! Make sure you’re using toilet paper that disintegrates quickly in water. “Flushable” wipes are not actually septic-friendly (and despite their marketing, they aren’t good for city sewer systems, either) so if you prefer to use them, have a small trash can nearby for easy disposal. Feminine hygiene products also don’t belong in your tank but fit nicely into that nearby trash can. You and your toddler should also resist the urge to sail the high toilet seas with toy boats.
We’ve spent a good chunk of time warning you about all the things that can go wrong with your black water tank. Don’t let that scare you off wanting to RV! As explained above, a couple of easy preventive tasks can go a long way to avoid problems with your RV black tank, making it much easier to just enjoy your RV adventures. Just like you had a maintenance plan for your home (cleaning gutters, mowing the yard, changing the A/C filter, etc) many of these preventive tasks are a small effort in the bigger scheme of things. An ounce of prevention is worth avoiding a pound of dried-on manure in your tank!
Did you like this post? Pin it to Pinterest!



3 Responses
This was an easy to follow plan for “Blackwater” maintenance. This is a topic a lot of RVers know little about and avoid but this has taken away the mystery’ and fear. Nice job. Thanks.
The wastewater from the RV’s toilet is sometimes referred to as “black water” in a camper. Gray water, on the other hand, comes from various appliances and fixtures, such as the sink and shower drain, and should not be confused with rig water.
I had the same problem with my RV sewer system. I used a plunger and a bucket and it worked great.