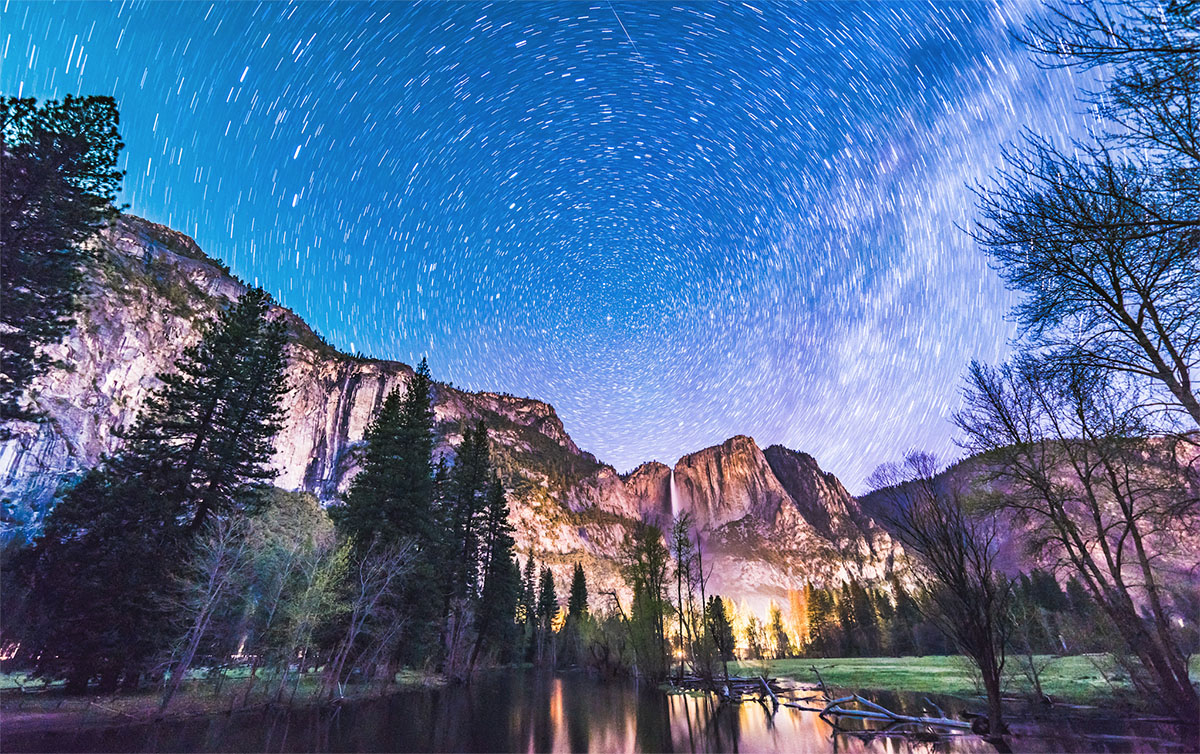
Travel photography has become much easier. It used to take extensive gear to get decent pictures while on the road. Now we have smartphone cameras capable of 12 megapixels (12,000,000 dots of color making up the image) or more that fit in your pocket, and you’re already carrying it.
The truth is that travel photography and its gear is defined by your goals. If you’re sharing your adventure with family and friends, and your intent is snapshots and scenes from the road, you’ll want to take one approach. If you intend to collect candid photos of people you meet, or if you’ll create a beautiful coffee table book of your travels, then this too will require a particular setup.
To get the most out of your photography, understand your intent, and gear up and experiment accordingly. This along with knowledge of how to get the most from your gear will go a long way.
Photography 101 - Exposure
Most cameras default to “Auto”. This means the camera is determining the ISO, aperture and shutter speed in order to properly expose the photo. Many people find this to work most of the time, but there are some serious implications to understand about the “Exposure Triangle” (ISO, Aperture, and Shutter Speed).
Let’s first define each part of the triangle and what it affects, then we’ll cover how this affects exposure.
ISO
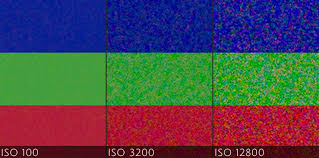
ISO is the sensitivity of the “film” or, on a digital camera, the sensor. The lower the number, the less sensitive the film is, and this means less noise too. The higher the number, the more sensitive the film is, but it also means there will be more noise. Noisy images contain a colored “snow” effect. This noise is because the film (or sensor) is capturing errant light photons.
Effectively, we don’t want noisy pictures, so a lower ISO is better. But to use a lower ISO, we need to collect more light. Overall, a fast ISO means you can take a photo with less light, but it’ll be noisy.
ISO – Controls Quantity of Light Required & Quality of Image
Aperture
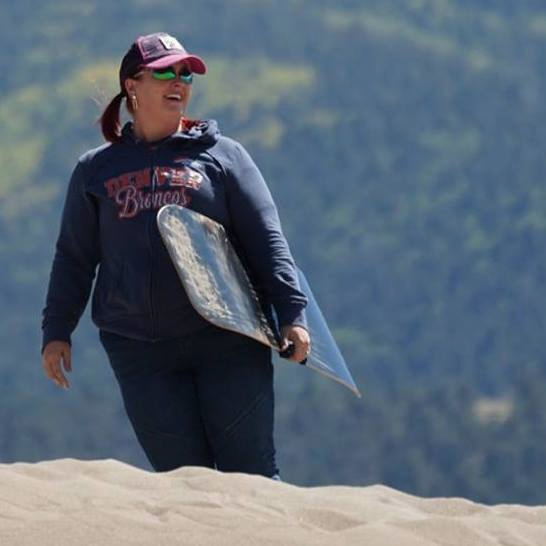
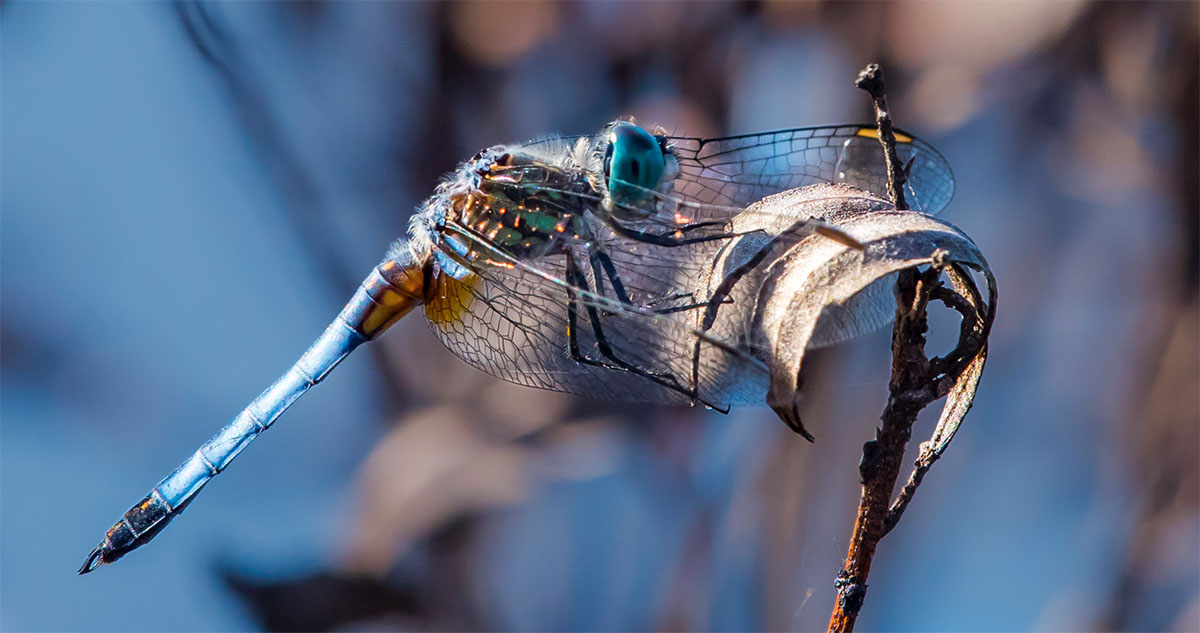
The aperture is the bladed mechanism inside the lens that controls how much light to let in. Aperture is usually referred to as the f-stop. A lower f-stop (eg. 1.4) means a larger aperture, or more succinctly, a bigger hole through which light can travel. However, the aperture also controls the Depth of Field. Depth of field is how much of the image is in focus. Think of this as a set of distances from the lens. The lower the aperture, the smaller the “in focus” distances are (for example, anything within 4’ to 6’ is “in focus” – Anything closer or farther would be out of focus). This “in focus distance” changes the further away the subject is.
This is extremely useful for portraiture or any scene where you want to have a blurry background and the subject in focus – This makes the subject stand out from the background (or foreground).
To have everything in focus, you will need a smaller aperture (for example, f8 for landscapes).
Aperture – Controls Quantity of Light & Depth of Field
Shutter Speed
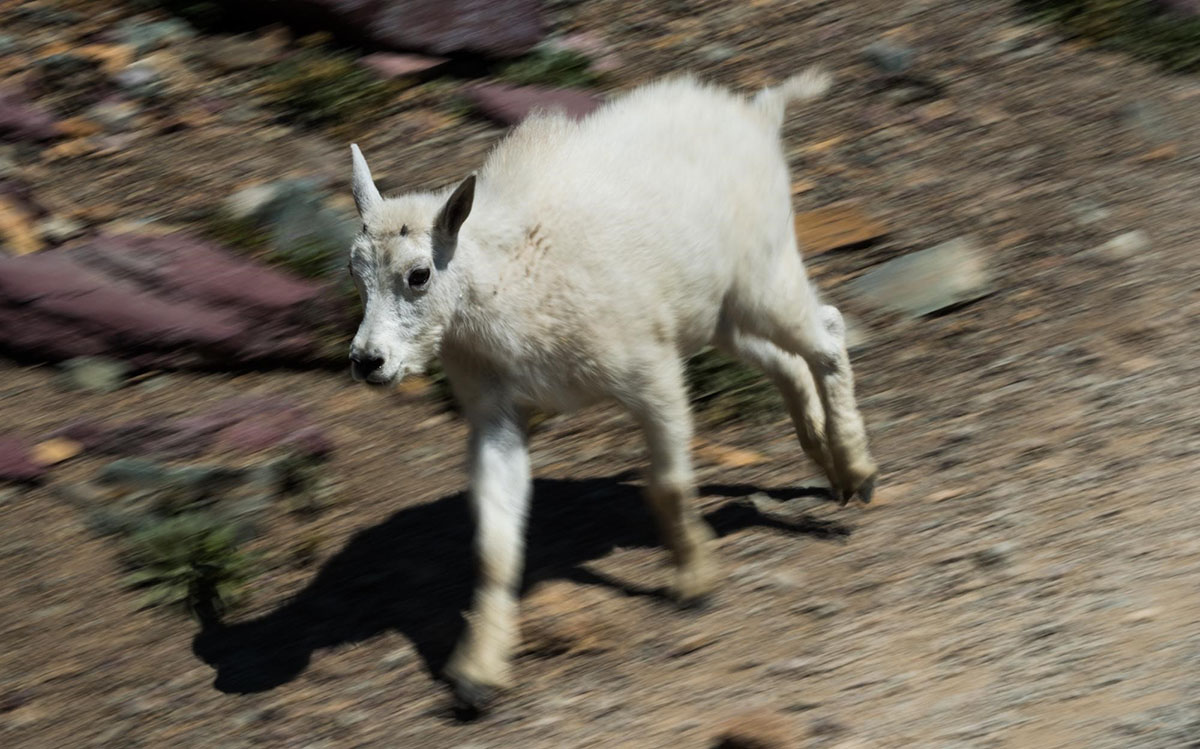
The shutter speed is the amount of time the shutter is open. This means it controls the quantity of light hitting the film, but it also means it controls the motion blur – Keeping the shutter open too long will blur the image because things are moving. Using a fast shutter will make sure to “stop” the action, but this means less light because it isn’t open as long.
Shutter – Controls Quantity of Light and Motion
The Exposure Triangle Summary
Controlling these 3 aspects: ISO, aperture, and shutter speed simultaneously is what makes photography a challenge. You need to account for the impact of each in order to have a good exposure. The desired result, regardless, is enough light hitting the sensor for a proper exposure.
Now – You may be tempted to say “Let the camera do it!”, which is certainly an option. But learning how to control the exposure triangle allows you to be much more effective with your camera, as well as take photos you cannot get with the camera in Auto.
Deliberate motion blur on a running animal, long exposures of fireworks, portraits with background blur, almost all nighttime photography, and many other situations require the use of manual modes.
Tips for Solving the Exposure Triangle
There’s a 2-step approach to solving this easily.
Step 1 is thinking about “The Knowns.”
Step 2 is learning and using your EV meter.
Step 1 - “The Knowns”
Given a scene, you can ask yourself which elements of the Exposure Triangle matter? I generally go (1) ISO, (2) Movement, and (3) Depth of Field. Picking each one in order will help solve for exposure.
ISO – I usually care quite a bit about quality, but picking a number too low means I need a lot of light. This might require a large aperture (which affects Depth of Field), or it could require a long shutter (which will affect Motion Blur). Over time, you’ll learn what good values are for you gear for given situations.
Movement – Will the subject or scene contain movement? If it does, and I don’t want blur, then I need a faster shutter speed. Faster shutter speed means less light. Less light means I need a larger aperture or higher ISO. Longer shutter speeds would allow for us to use a lower ISO and a smaller aperture, but this will show motion (sometimes, this is the desired effect).
Depth of Field – Do we need to consider Depth of Field? If so, the aperture will be larger, so we compensate with a Higher ISO and/or faster shutter.
The balance of these 3 settings depends on the type of photo I intend to take and my desired outcome.
The Trouble with “Auto” and “Auto” Modes
Have you ever noticed some cameras have “Landscape”, “Sports”, “Portrait” and “Night” modes? The reason should be obvious now – The camera needs to know which part of the Exposure Triangle to solve for first. “Sports” mode will favor Shutter Speed to stop the action. “Portrait” will favor a larger aperture to create a blurred background. “Landscape” will favor a smaller aperture and a faster shutter (it assumes daylight) to get the whole thing in focus.
The problem with this is you’re never really in control of the settings – You’re hoping the camera gets it right. You’ll usually get far better results if you’ll apply what you know and adjust for the situation.
Step 2 - The Exposure Level Indicator (EV Meter)
Most cameras include an EV meter. This is a meter that shows if the photo will be over or under exposed.
Each number represents a “stop” of light. -1 is 1 stop darker than what the sensor thinks it needs for the conditions. +3 is 3 stops too bright.
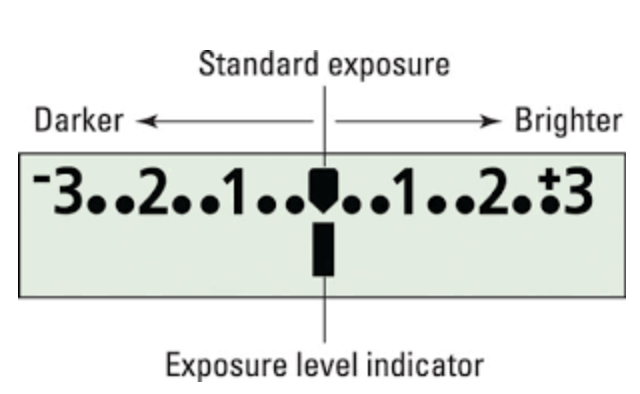
Most cameras include an EV meter. This is a meter that shows if the photo will be over or under exposed.
Each number represents a “stop” of light. -1 is 1 stop darker than what the sensor thinks it needs for the conditions. +3 is 3 stops too bright.
What affects this? The camera is using the current lens and settings to tell you “this is too bright” or “this is too dark”. The best part about the EV meter is it takes into account the aperture, the shutter speed and the ISO to tell you if you’ve solved the Exposure Triangle properly. This means you can adjust the settings and see the result instantly, even before you take the photo.
But “Why do I care?” Well – Learning how to use the EV meter effectively means you can adjust the ISO, shutter and aperture right in the moment. If it’s too dark and you can’t risk slowing the shutter, maybe you can bump the ISO up to account for the darker conditions. Maybe you’d rather open the aperture. Maybe, if you can risk the slower shutter, maybe you do that instead.
The main thing to understand is the EV meter is needle you want to follow (most of the time).
For a much more detailed explanation of the EV meter, see here: https://en.wikipedia.org/wiki/Exposure_value
Composition
Many books and articles have been written on photographic composition, but the most basic and utilitarian method is the Rule of Thirds, and pay attention to framing.
Note: An important aspect when applying any method is to do it in the camera. I cannot stress this enough. Don’t try to take sloppy shots and hope to reframe or recompose them later on the computer. You’ll find that in many cases, this just doesn’t work out. Also (and this may be the biggest take-away) when you are deliberately framing your shots, you are paying a lot more attention to the elements in the frame – Where they’re placed, how light falls, where the edges cut off, etc.
Rule of Thirds
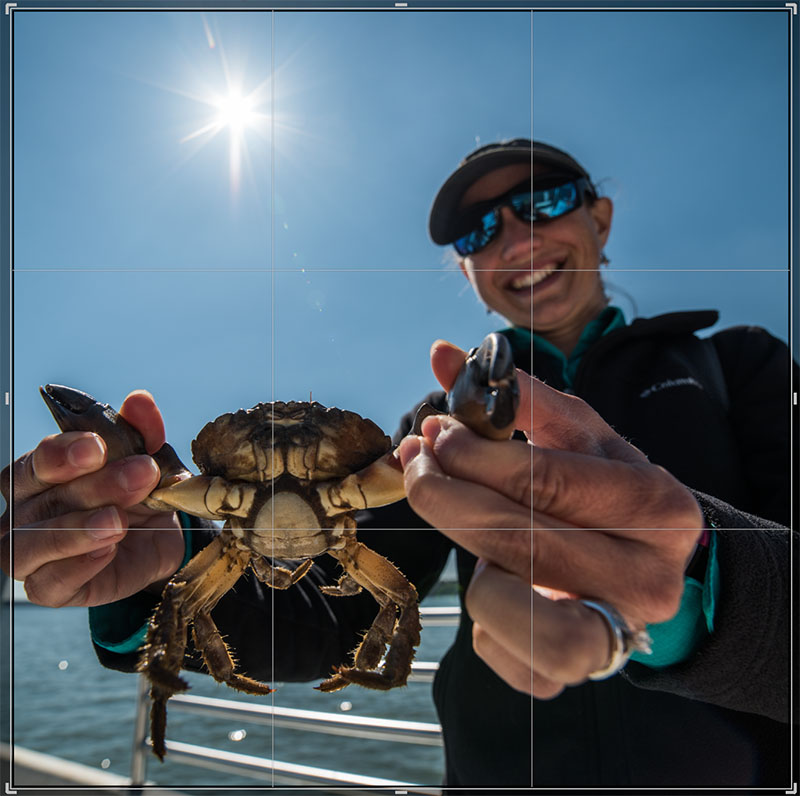
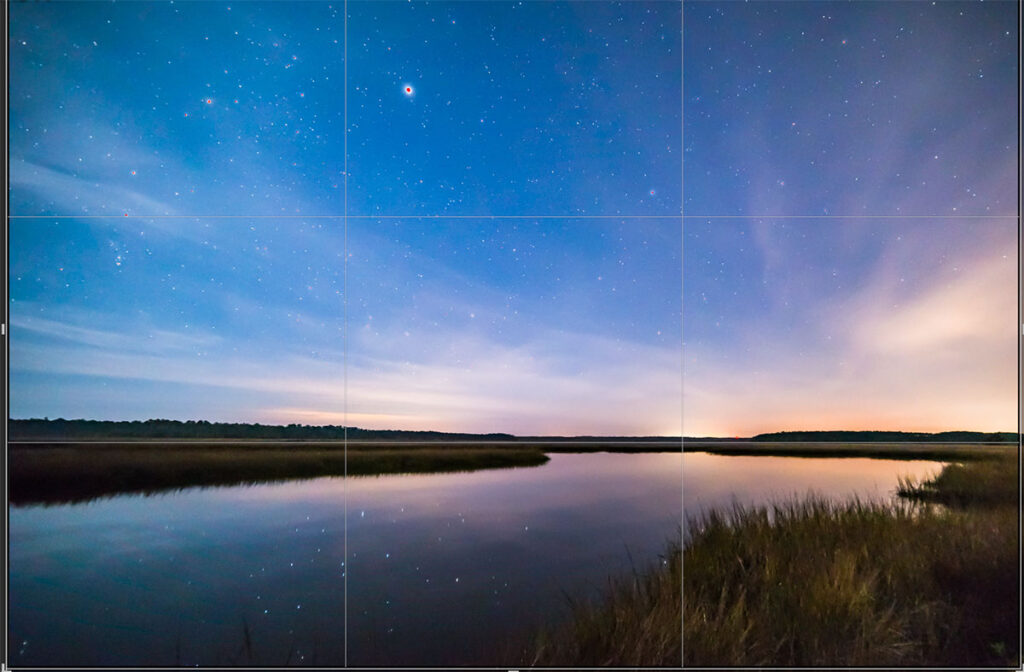
This composition technique simply states to put the important element or subject in a third of the frame. This could be a face, a particular line, or any other aspect within the photo to balance it.
And the thirds doesn’t apply to just one thing. The more you can align the elements of your image into neat dissections of thirds, the more it just seems “to work”.
The thirds line can bisect the image, or be a focal point. It can serve to be the horizon, or a barn wall. In any case, you can use this technique to create images that feel balanced.
Framing
Framing is different from using the Rule of Thirds simply because it’s a technique to determine what’s in and out of the frame. What angle you’re viewing things from, and how you’re capturing the entire scene.
When framing an image, pay special attention to what is in the foreground and background. Having telephone poles come from the top of a subject’s head is a sure-fire way to ruin an otherwise good image.
Rules? Who needs rules?
Generally speaking, if you have a plan for a photo and you want to apply some basic concepts – Great. If your plan is to deliberately eschew the rules, then fantastic. The main thing I would say is “have a plan”, and shoot your photos deliberately.
The Gear
There’s a saying out there - The best camera to use is the one you have with you.
For Snapshots and Candids, a good smartphone will usually suffice. The iPhone and Android offerings include incredible cameras, along with many features such as timers and flashes. Entry level DSLR’s like the Nikon 3400, or the Canon Rebel are good choices too – They’re economical and perform well.
For Fine Art, you can’t beat a good purpose-built camera. At a minimum, look for cameras that give you full control over ISO, aperture and shutter speed. This doesn’t have to be an expensive DSLR, but it should be something dedicated to the task.
Mid-range DSLR and mirrorless cameras like the Nikon D500 or D750, the Canon 80D or the Sony a7s are good starting points.
Pro level equipment is great once you’re using the full extent of the camera’s capabilities. The Nikon D810 and D850, the Canon 5D and the Sony a7iii are all excellent performers.
While reviewing gear, learn about resolution, dynamic range, frames per second, available lens mounts, accessories – pretty soon your head will be swimming with “What should I use??”.
For really serious travel photographers, you’ll want to invest in lenses, and understand how best to use them. Having a wide angle (14-18mm) for landscapes, something middle ground for walking with (24-70mm), and a telephoto (70-200mm) for distance is a good mix. For a good primer on what all the numbers mean, and how lenses work, see https://en.wikipedia.org/wiki/Camera_lens
Processing
Photos straight off of the camera can be fine for Snapshots and Candids, but in almost all cases, some amount of post-processing will help. Keep in mind that “post-processing” is the same thing the drug store used to do for you, but now you need to adjust things yourself. Don’t shy away from this step – It has become so much easier and fun.
For a good, free solution, use Google Photos (https://photos.google.com). You can upload, store and process all of your photos for free. This has the added benefit being accessible from anywhere, and they’re always safe and backed up.
For Fine Art photography, Adobe is the go-to in most cases. Adobe CC offers Lightroom and Photoshop for $9.99/month. Most serious photographers use Lightroom or Photoshop. There are also many free applications out there, but generally speaking, you get what you pay for.
Summary
There are many aspects to photography that can be challenging. Creating photos for sharing can run the gamut from a simple snapshot on a smartphone, to a meticulously set up night shot. Both can bring happiness to you and those you share them with.
As with any tool though, learning about the tool and how best to make it work will always result in a better outcome. Applying some basic knowledge of exposure, along with a basic understanding of composition will tend to create far better photos for everyone to enjoy.
Resources
Here are a few resources I recommend to anyone – They’re informative and easy to follow.
Tony and Chelsea Northrup https://www.youtube.com/channel/UCDkJEEIifDzR_2K2p9tnwYQ
Jared Polin https://www.youtube.com/channel/UCZG-C5esGZyVfxO2qXa1Zmw
Matt Granger https://www.youtube.com/channel/UCL5Hf6_JIzb3HpiJQGqs8cQ
DigitalRev TV https://www.youtube.com/channel/UCuw8B6Uv0cMWtV5vbNpeH_A
For books, there’s a lot of great resources, but one of my favorites is:
How to Create Stunning Digital Photography
https://northrup.photo/product/stunning-digital-photography/
Author and Photographer
Brock Brinkerhoff
Engineer, Photographer, Pilot, Runner and Technical & Cave Diver
Director level software engineer working remotely, and travelling the country in our motorhome. Always someplace new, seeing new sights and meeting new people.









2 Responses
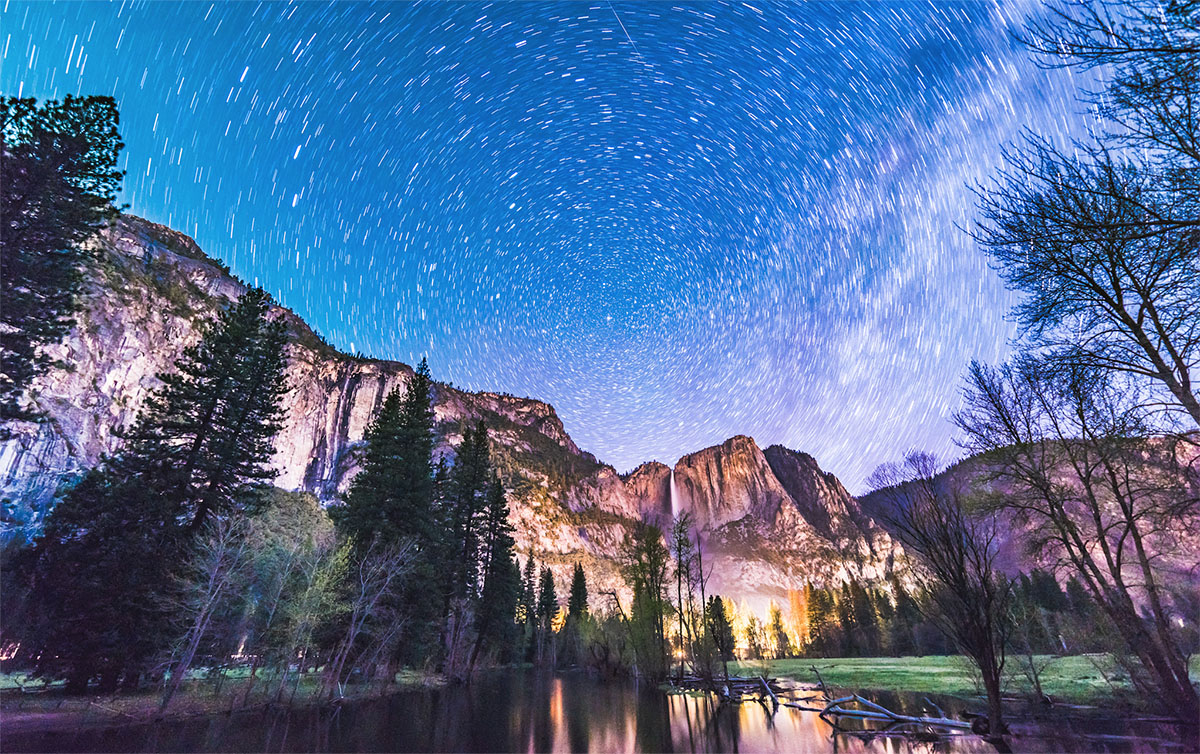
I knew this article would be from you! Sorry we didn’t get to do the night sky lesson at the Michigan Convergence. Perhaps a future blog post?!
What an excellent example of the camera, it’s settings and uses of them! As a professional portrait photographer I come across hundreds of clients that ask what’s the best way to use my new camera. This is by far better explained then any other way I have seen without getting very technical and over discriptive. Very consistent and to the point with a ton of knowledge. Well done! I also learned a better understanding myself!