In January, we installed a brand new solar system in Windwaker, our 2002 Fleetwood Southwind 32V RV.
We knew when we bought the rig that we’d at least need new house batteries. The original ones couldn’t make it through the night, even when the only thing running was the furnace fan.
But if you’re going to get new batteries, might as well get a battery monitor, right? And if you’re getting a battery monitor, why not also get some panels to feed those batteries some sun juice? And if you’re getting some panels, why not get an inverter so you can use all your AC appliances and electronics?
Yeah, we fell into THAT rabbit hole. But we’re okay with it. This is an upgrade we planned even before we purchased the rig, and we’ve loved every second of it so far.
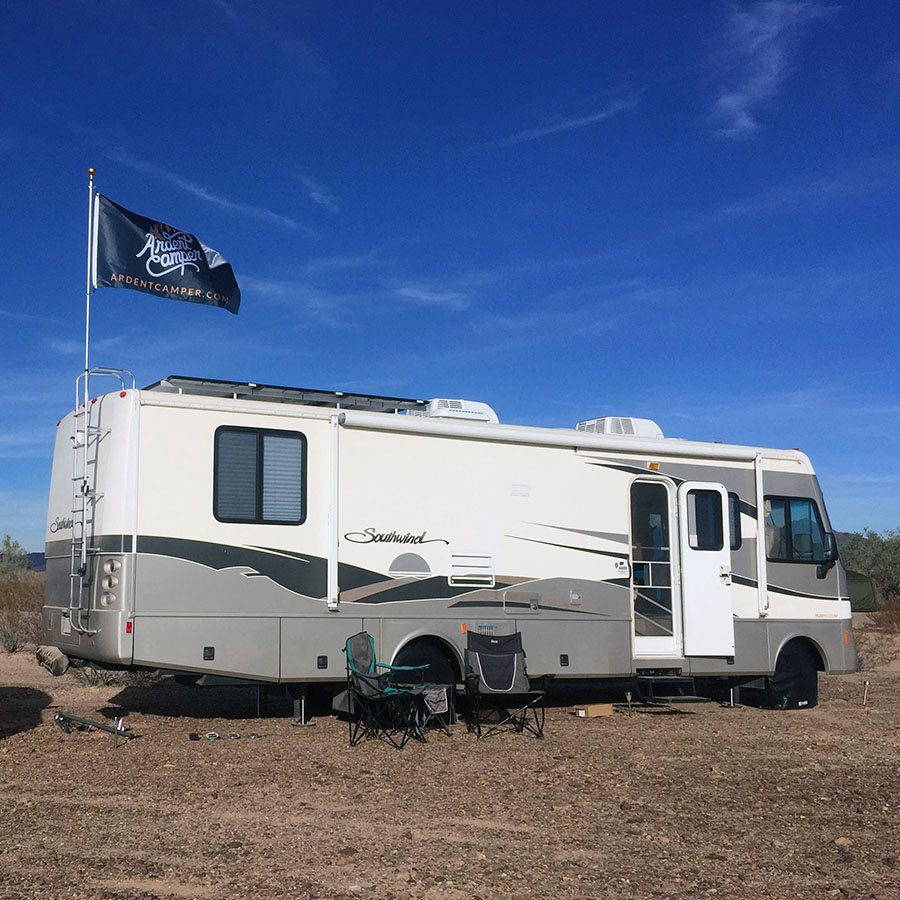
Our first boondocking spot with the new solar system
Why did we install a solar system?
For the same reason we moved into an RV: freedom. Just like having an RV prevents you from being tied to your house or apartment, a solar system eliminates your reliance on RV parks.
Yes, it’s possible to boondock or dry camp with a generator. They do definitely make some noise, and the exhaust may force you to close your windows. In addition, generators eat through gasoline, which costs money, honey, and we’re all for sparing the environment a little. (You know, with our 7 mpg motorhome.)
Seriously, though, it’s awesome to be able to camp anywhere.
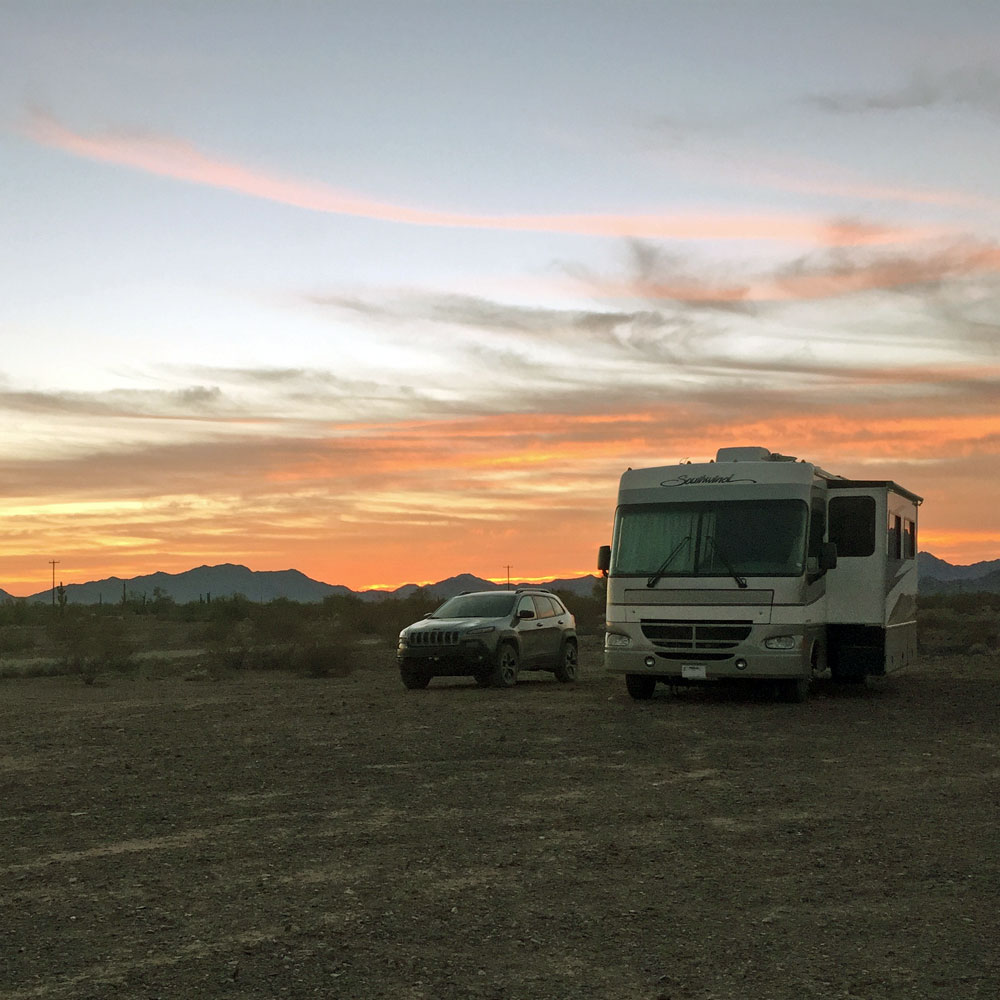
Boondocking… glorious boondocking!
Can we get some deets?
You bet! Let’s start at the top.
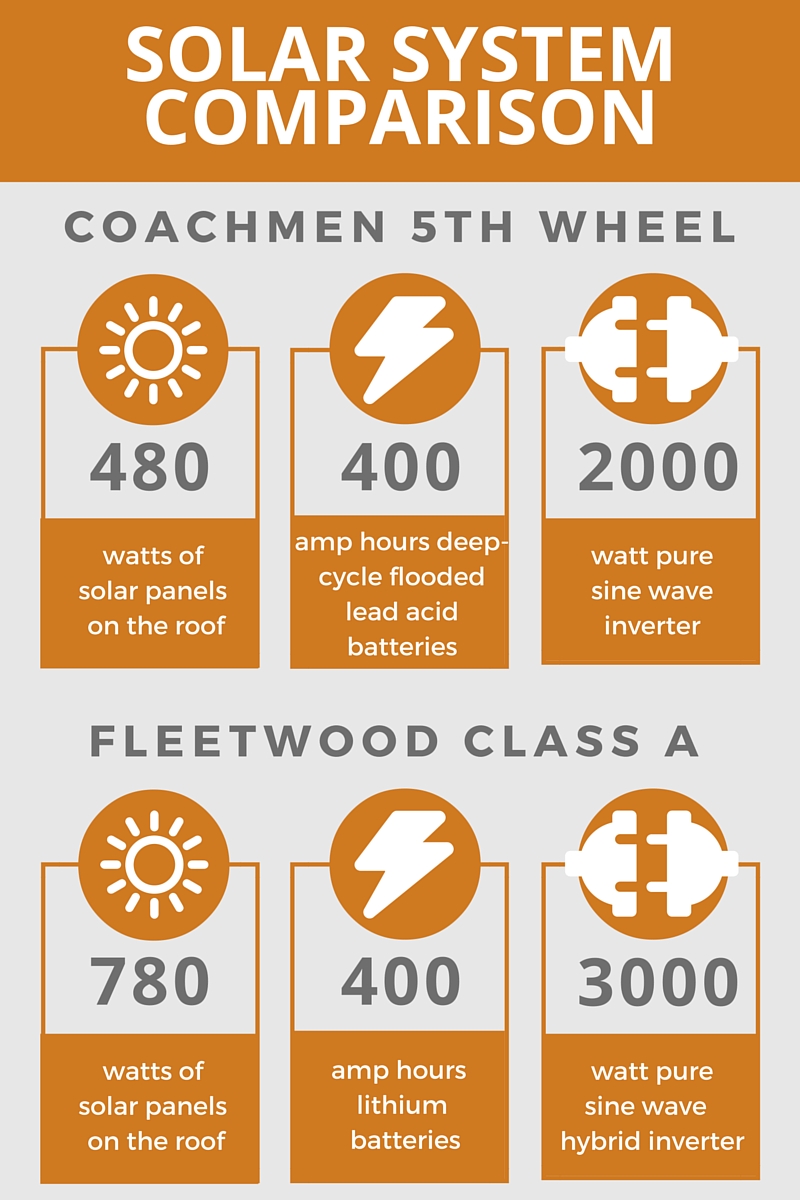
Solar panels: 780 watts of solar panels (3 260-watt panels) on the roof. They’re mounted onto custom-built railings that elevate the panels over roof utilities so there is no shading. They don’t have tilt kits, but that hasn’t been a problem so far.
Batteries: 400 amp hour bank of lithium batteries. More on this later.
Inverter/Charger: Magnum Energy 3,000 watt pure sine wave hybrid inverter charger. “Hybrid?” Yup, that’s right. Most inverters only let you to use one power source (shore/generator OR batteries) at a time, but the hybrid inverter allows use of both at the same time so you can run more appliances. This feature is currently only available starting at the 3,000 watt level.
Charge controller: Magnum PT-100 MPPT charge controller. This takes power generated by the solar panels and charges the batteries.
Remote: Magnum ME-ARC. This highly programmable remote allows us to set fine-grained parameters for our system. “Highly programmable” is important here; there aren’t many systems that are built for lithium batteries. Magnum products don’t yet officially support them (but we still love Magnum). A cool feature of this specific remote is that it can synchronize many of the settings for our inverter/charger and charge controller, which are both Magnum brand.
Battery monitor / EMS: Elite Power Solutions EMS. This allows us to monitor and automatically maintain the health of our lithium batteries.
DC outlets: We had 3 new DC (“cigarette lighter”) outlets installed in the RV. By using these, we don’t have to turn on the inverter, and we can use electricity more efficiently. We already had 3 outlets by the RV’s dashboard, and the new ones are by the dinette and on both sides of the bed.
LED lights: We swapped out our incandescent lights for LED bulbs. It’s super easy to do, and you’ll significantly cut your energy usage just like that. *snaps fingers*
For a quick overview of how this system compares with the first one we installed in our fifth wheel, check out the graphic below:
Why did we go with lithium?
In our fifth wheel, we had 4 6-volt flooded lead acid batteries (commonly known as golf cart batteries), which worked really well and are affordable. But there were some drawbacks.
- To preserve the lifespan of the batteries, you shouldn’t drain them lower than 50%. This means that you have to buy twice as much capacity as you think you’ll need.
- These batteries are called “flooded” because the cells need to be periodically topped up with distilled water. Not a big deal, but it’s one more chore to remember.
- These babies produce toxic gas and must have proper ventilation. Also, they can leak.
- They are capable of significantly fewer charge cycles than lithium batteries.
Sealed AGM batteries are another option – the middle tier.
- These do not require any ventilation or maintenance.
- They’re leak-proof.
- AGMs weigh less than flooded lead acid batteries but more than lithium batteries.
- They’re more expensive than flooded lead acid batteries but still quite a bit cheaper than lithium.
Lithium batteries are the priciest option, but they provide a lot of value by being easier to maintain and more cost-effective over their lifetime.
- These puppies can be drained as low as 20% without reducing their lifespan.
- There is literally nothing to do to physically maintain them.
- They can be quickly bulk charged to 100%, compared to 80% for flooded and AGM.
- Lithium batteries have many more charge cycles over the course of their lifetime (4-10 times as many).
- The range of operating voltage is much smaller, meaning there’s virtually no voltage sag.
- Last but not least, they’re smaller and lighter than their flooded and AGM counterparts, leaving you with more storage capacity.
Technomadia has written a fantastic and highly detailed blog post on this topic. We referred to it quite a lot as we made our decisions, and we recommend you do the same if lithium batteries are of interest.
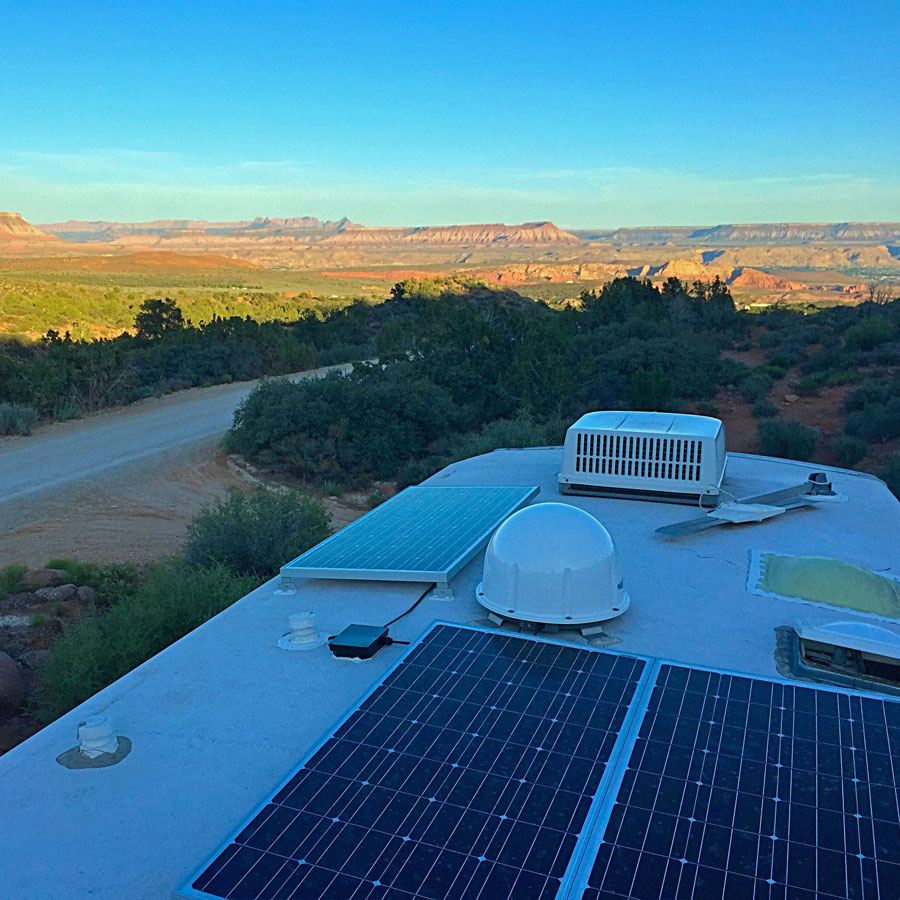
Our boondocking spot in Dixie National Forest, Utah with the fifth wheel
Who performed the installation?
We headed to Yuma, Arizona to have Larry and his team at Starlight Solar Power Systems install the system. We chose Starlight based on their expertise with handling lithium batteries.
Our fifth wheel’s solar system was installed by Ron and his gang at D&R Family RV near Phoenix, Arizona. They also did a great job.
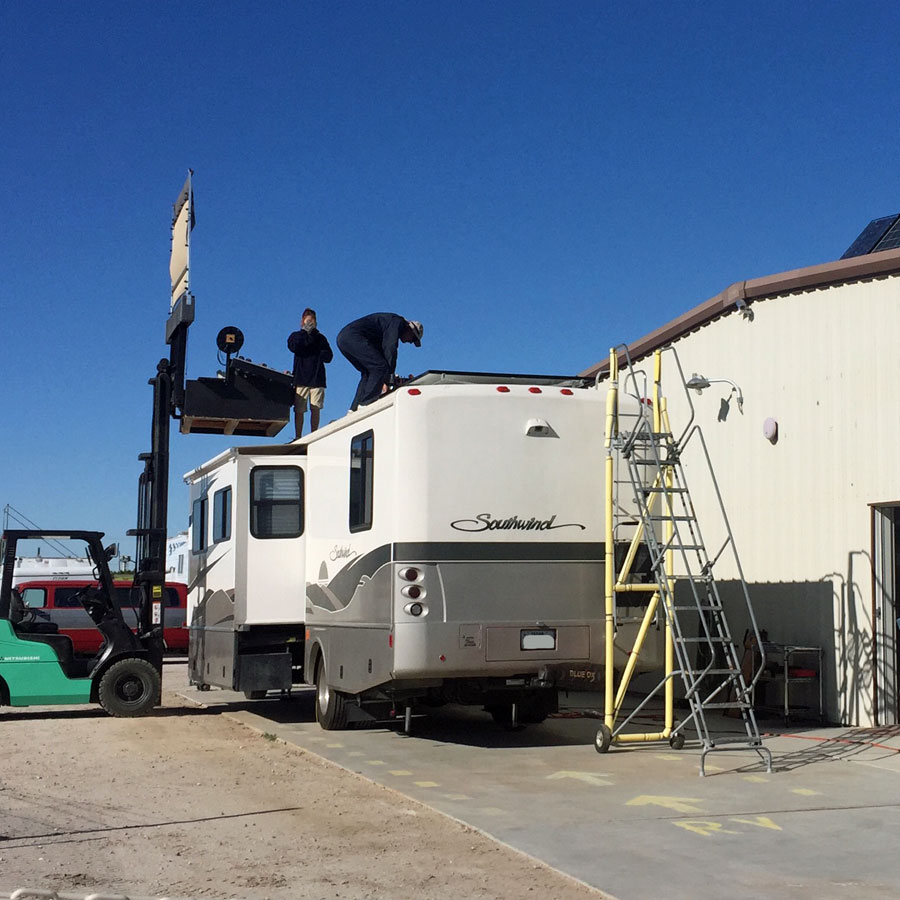
Starlight Solar doing their thang
Can we talk cost?
Let’s be clear: it’s not the cheapest thing in the world to buy and install a solar system, especially with lithium batteries. But if you’re dedicated to using them and doing lots of free dry camping, they can pay for themselves in a few years or less.
Considering most RV parks charge $35+ per night for short-term stays, you can see thousands of dollars of savings every month by generating your own electricity from the sun. After all, $35/night over the course of one full year is $12,775 (!!!).
One other caveat: installs vary greatly from each other in specs and price. You can get by with paying a lot less, especially if you’re willing to DIY part of the project. We weren’t comfortable installing our own system from scratch, especially given our choice of lithium, which is a relatively new technology. So we opted to go with the pros.
For a very servicable system installation that includes flooded lead acid batteries, solar panels, a pure sine wave inverter, charge controller, remote, and other components like wiring, you can expect to pay $3,000-$6,000 plus installation.
For a more robust system like ours with lithium batteries and a hybrid inverter, expect to pay $8,000-$11,000 plus installation costs.
Labor should take 10-20 hours, depending on the accessibility of your bays and wiring, and how much additional work (like adding DC outlets) you want the shop to handle. At $90-$150/hour, that can add up quickly.
Bear in mind if your RV already has quality house batteries and an inverter, your prices will be a lot lower than what we’ve listed.
How will we make up the cost?
We expect to recoup our costs via free boondocking. Our pre-solar cost per night (RV park fees) has been $24.61. Our post-solar system cost per night has averaged $15.56. That’s a $9.05 difference per night, which results in a $3,303.25 savings per year.
At this rate, it’ll take us a bit over 3 years to recoup the cost. We can’t imagine changing rigs any time soon, and on top of that, our lithium batteries could last 10-15+ years, so we felt like the decision made sense for us.
Also, we’re eligible for a 30% tax credit on our 2016 tax return, which will help a great deal with easing the sting of the cost. In addition, we were able to secure a 4% cash discount at our installer’s shop.
Apart from dollars and cents, we feel there’s a hefty added value here: the freedom to park wherever we desire. We can boondock in the wilderness for as long as our tanks will last and have access to the same electrical conveniences we’d find in a park. To us, this is the most fun aspect of RVing. It’s priceless!
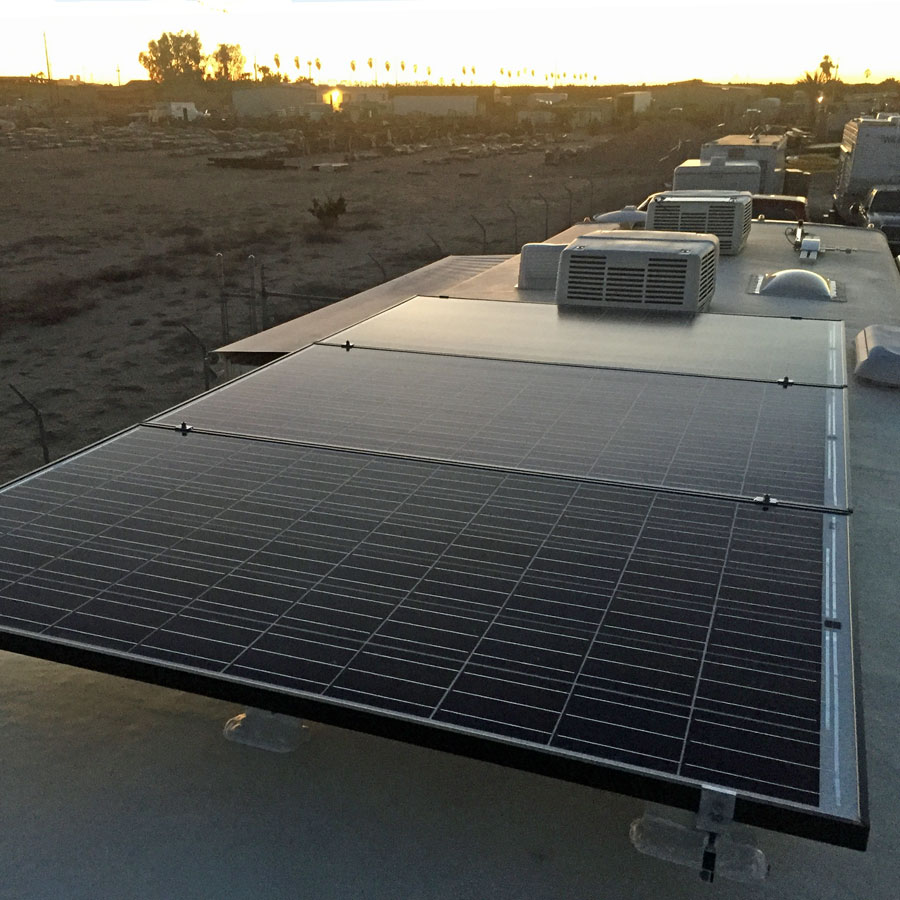
Brand new shiny panels right after installation
How’s it going so far?
In one word, AMAZING!
We headed out to Kofa National Wildlife Refuge between Yuma and Quartzsite, Arizona, a perfect place to catch some winter rays and test out the system.
Even in the winter without tilt kits for our panels, we were consistently able to reach a full charge each day and run the inverter at night when we wanted without getting below 50%. (The inverter itself has a power draw along with any AC appliances and electronics plugged in to it.) Although it’s good practice to conserve power use – especially while boondocking – we didn’t have to worry much.
It’s not an exaggeration to say that our first solar install on our fifth wheel totally changed the way we experience the RVing lifestyle. We’ve upped our game this time with lithium batteries and more solar wattage, and we couldn’t be happier with them.
If you have a solar system on your RV or house, let us know how (or if) it has changed your life. And if you have questions, lay ’em on us!
Related posts:
Ardent Camper-approved products featured in this post:


