LICENSE AGREEMENT
This Agreement is effective on the date the Intellectual Property is downloaded by the Licensee.
Recitals
A. Licensor is in the business of providing a total support network for all recreational vehicle enthusiasts (“RVers”/ “RVing Community.”) and owns the Intellectual Property, the form of which, is set forth at escapees.com hereby incorporated by reference.
B. Licensee wishes to use the Intellectual Property, for one of the following uses: personal blogs, personal YouTube channels or similar web-based channels, and/or personal websites. The use shall be selected at the time the Licensee downloads the Intellectual Property; and, the use shall hereby be incorporated by reference into this Agreement. The use of the Intellectual Property shall not be commercial in nature.
C. Licensor is willing to grant the Licensee a license to use the Intellectual Property on the terms and conditions set forth in this Agreement.
NOW, THEREFORE, in consideration of the premises and the mutual covenants and agreements set forth below, the parties hereto covenant and agree as follows:
Article II: License
A. The Licensor hereby grants to the Licensee, and the Licensee hereby accepts, a nonexclusive, nontransferable license (the “License”) to use the Intellectual Property.
B. No other right or license is granted by Licensor to Licensee or by Licensee to Licensor, either express or implied, with respect to any other trademark, trade name, service mark, or other intellectual property right owned, possessed, or licensed by or to Licensor. Licensee shall not use the Intellectual Property in any manner not specifically authorized by this Agreement.
Article III: Operation under License
A. The Licensee must obtain all governmental permits, licenses, registrations, and approvals needed to produce and market the Product or provide the Service and must operate under the License in compliance with all applicable laws and regulations. Specifically, but without limitation, when using any of the Intellectual Property, the Licensee must comply with all laws relating to intellectual property in force, including marking requirements. At the request of Licensor, and without compensation to Licensee, Licensee shall promptly do such acts and execute, acknowledge, and deliver all such papers as may be necessary or desirable, in the sole discretion of Licensor, to obtain, maintain, protect, and/or vest in Licensor the entire right, title, and interest in and to any Intellectual Property; including rendering such assistance as Licensor may request in any litigation, Patent and Trademark Office proceeding, or other proceeding. All use of any Intellectual Property by Licensee on any good shall inure to the benefit and be the property of Licensor.
B. The Licensee may use the Intellectual Property only in connection with goods manufactured, distributed, and sold by or for, and/or services provided by or for, the Licensee in accordance with the specifications, directions, and processes furnished to the Licensor by the Licensee or its representatives and agents from time to time; and, the quality of all goods sold under the Intellectual Property must be satisfactory to the Licensor or as specified by the Licensor. The Licensee must furnish to the Licensor, upon request, with samples of goods sold or distributed, and/or examples of how Licensee provides services, using one or more of the Intellectual Property. In addition, in order to assure that the development, manufacture, appearance, quality, and distribution of the Product and/or Service are consonant with the Intellectual Property used to identify it or them, Licensor retains the right to participate at each stage of development of any Product or any other Material Requiring Approval and to approve or disapprove of any development, manufacture, appearance, quality, and/or distribution.
C. Whenever the Licensee uses any of the Intellectual Property, in advertising or in connection with goods that it sells or distributes, the Intellectual Property must be displayed in accordance with specifications and directions furnished by the Licensor to the Licensee, from time to time. Licensee shall use upon or in connection with the Product, and/or Service, where a United States Federal Trademark Registration has been obtained, the symbol ®. Licensee shall not otherwise affix or use such in connection with nor use any other trademark or trade name in connection with the Product without Licensor’s prior written approval. The Licensee must also clearly indicate the Licensor’s ownership of the Intellectual Property whenever one of the Intellectual Property is used. Licensee agrees to use such copyright notice as may be prescribed by legal counsel for Licensor, from time-to-time.
Article IV: Assignment and Subleasing
A. This Agreement and the License are personal to the Licensee, and the Licensee may not assign or sublicense any of the rights granted to the Licensee under this Agreement without the advance written consent of the Licensor, which consent may be withheld for any reason whatsoever. Any purported assignment or sublicense by the Licensee (or by operation of law) that is not approved in writing by the Licensor will be null and void and of no legal effect whatsoever.
B. This Agreement may be assigned by the Licensor to any person or entity whatsoever.
Article V: Licensorship and Protection of Intellectual Property
The Licensee acknowledges the Licensor’s exclusive right, title, and interest in the Intellectual Property and will not at any time do or cause to be done any act or thing contesting or in any way impairing or tending to impair any part of such right, title, and interest. Specifically, but without limitation, the Licensee will at no time adopt or use any word or mark that is likely to be similar to or confusing with the Intellectual Property. In connection with use of the Intellectual Property, the Licensee will not in any manner represent that it has ownership of the Intellectual Property or any registration thereof, and the Licensee acknowledges that use of the Intellectual Property will not create in the Licensee’s favor any right, title, or interest in or to the Intellectual Property, but all uses of the Intellectual Property by the Licensee, including any goodwill generated by such use, will inure to the benefit of the Licensor. The Licensor will be responsible for trademark registrations and must use commercially reasonable efforts to file, prosecute, and maintain all trademark and related registrations and registration applications for the Intellectual Property.
Article VI: Infringement
Only the Licensor shall have the right, but not the obligation, to prosecute any infringement of the Intellectual Property. The Licensee must promptly inform the Licensor of any infringement that comes to the Licensee’s attention, regardless of whether the Licensee elects to prosecute the infringement.
Article VII: Licensor’s Warranties and Representations
The Licensor is the sole Licensor of the Intellectual Property and has a good right to license the rights in the Intellectual Property to the Licensee in accordance with the terms of this Agreement.
Article VIII: Indemnity
A. Licensee represents and warrants that it has the right to enter into this Agreement and to agree to the terms and conditions of this Agreement. The Licensee agrees that it will indemnify and hold harmless the Licensor , and its directors, officers, employees, shareholders, partners, agents, and affiliates, against all controversies, disputes, claims, liability, and expenses (including legal fees) relating to this Agreement, whether sounding in contract, tort or otherwise, brought by a third party.
B. Licensee shall promptly notify the Licensor of any claim, in writing; and, Licensee shall cooperate with the Licensor in the defense of any claim.
Article IX: Term and Termination
A. The term of the License will commence on the date of this Agreement and will continue in effect for a period of one (1) year. At the expiration of the initial one-year term of the License, or any renewal thereof, the License will be renewed for a period of one year beginning on the date of the expiration of the prior term, unless either the Licensor or the Licensee gives written notice of termination to the other not later than thirty (30) days before the expiration of the prior term. If notice of termination is given, the License will terminate on the expiration of the existing term.
B. The Licensor may, at its option, terminate the License prior to the end of its term by written notice to the Licensee if Licensee violates any of the terms of this Agreement.
C. Termination or expiration of the License will not in any way operate to impair or destroy any of the Licensor’s or the Licensee’s preexisting rights or remedies, either at law or in equity.
D. Immediately following the termination or expiration of the License, all rights granted to Licensee hereunder shall automatically revert to Licensor and Licensee shall execute any and all documents evidencing such automatic reversion; and, the Licensee must cease and desist from all use of the Intellectual Property in any way and deliver to the Licensor all material and papers on which the Intellectual Property appear that are in the Licensee’s possession.
E. Licensee shall, within three (3) months after such expiration or termination, deliver to Licensor a complete and accurate statement indicating that all existing inventories of Product have been destroyed and all references to Intellectual Property have been removed from Licensee’s properties.
Article X: Relationship
A. The relationship between the Licensor and the Licensee is that of licensor and licensee, and it is not the purpose or intention of this agreement or of the parties to create a partnership, joint venture, principal-agent, or other relationship for any purpose whatsoever. Neither the Licensor nor the Licensee is authorized to or has the power to obligate or bind the other party in any manner whatsoever except as may be expressly provided in this Agreement.
Article XI: Binding Effect
A. The provisions of this Agreement will be binding on and inure to the benefit of the heirs, personal representatives, successors, and assigns (where applicable) of the parties.
Article XII: Notice
A. All notices and other communications between the parties must be in writing.
B. Notices must be given by (i) personal delivery, (ii) a nationally-recognized, next-day courier service, (iii) first-class registered or certified mail, postage prepaid to the party’s address specified in this agreement, or to the address that a party has notified to be that party’s address for the purposes of this section, (iv) or via email.
C. A Notice given in accordance with this Agreement will be effective upon receipt by the party to which it is given or, if mailed, upon the earlier of receipt and the fifth Business Day following mailing.
Licensor:
Teresa Moore, COO
Escapees, Inc.
100 Rainbow Drive
Livingston, Texas 77351
Licensee:
______
______
______, ______ ______
Article XIII: Attorney’s Fees
In the event of any controversies, disputes, and/or claims arising out of or relating to this Agreement, whether sounding in contract, tort, or otherwise, each party shall bear its own costs and expenses, including reasonable attorneys’ fees, incurred in connection with such action.
Article XIV: Confidentiality
Licensee shall maintain the confidentiality of all trade and proprietary secrets that may be disclosed in the course of providing the services under this agreement. Licensor shall identify to Licensee in advance and in writing any information or data deemed a trade or proprietary secret.
ARTICLE XV: CHOICE OF LAW
The parties agree that the laws of Texas shall govern this Agreement and all controversies, disputes and claims relating to, in connection with or arising out of this Agreement or breach of this Agreement, whether sounding in contract, tort, or otherwise, and whether settled by binding arbitration or by a court of competent jurisdiction.
Article XVI: Waiver
A party’s failure or neglect to enforce any of its rights under this agreement will not be deemed to be a waiver of that rights or any other of its rights.
Article XVII: Headings and Construction
The section headings contained in this Agreement are for reference purposes only and shall not affect the meaning or interpretation of this Agreement.
Article XVIII: Counterparts
The parties to this Agreement may sign this Agreement in any number of counterparts, each of which is an original and all of which taken together form one single document. Moreover, this Agreement shall become effective when each of the parties to this Agreement sign one or more counterparts and delivered the signed counterpart to each of the other parties to this Agreement, in accordance with ARTICLE II: NOTICE of this Agreement.
Article XIX: Severability
If any term or provision of this Agreement shall be deemed to be invalid, illegal, or unenforceable, the remainder of this Agreement shall remain in full force and effect, and, that illegal, invalid, or unenforceable term or provision shall be modified to the extent necessary to render such term or provision enforceable. The rights and obligations of the parties shall be construed and enforced accordingly, preserving to the fullest permissible extent the intent and agreements of the parties, without frustrating the purpose of the Agreement.
Article XX: Entire Agreement, Modification and Integration
A. This Agreement constitutes the entire agreement between the parties. Each party acknowledges that in entering into this Agreement it does not rely on, and shall have no remedies in respect of, any representation or warranty (whether made expressly or impliedly) that is not set out in this agreement.
B. This Agreement may not be modified other than in a writing, dated, executed by an authorized representative of both parties, stating its intent to modify or supersede this Agreement and delivered in accordance with the Notice clause of this Agreement.
IN WITNESS WHEREOF, Licensor has caused this Agreement to be executed by offering the Intellectual Property for download on escapees.com; and, Licensee has caused this Agreement to be executed personally or, as appropriate, by its duly authorized officers by downloading the Intellectual Property.















5 Responses
Thanks for the great and detailed Information!
What was the cost of a complete install like that?
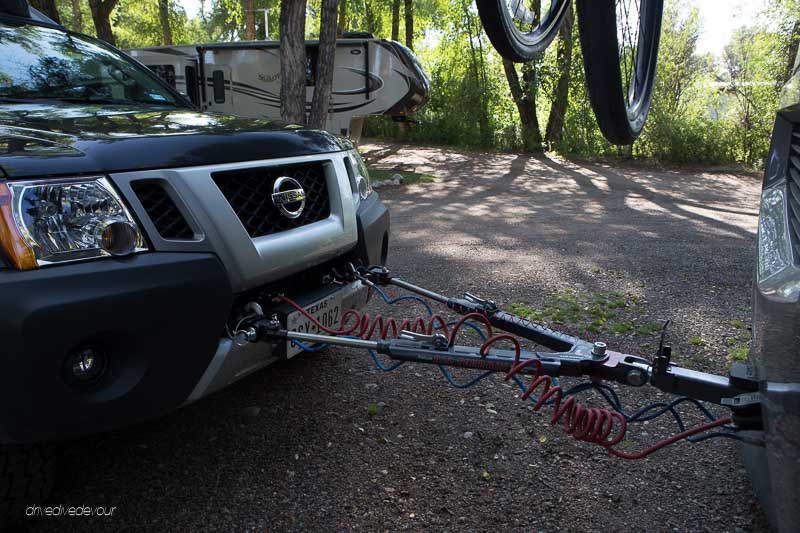
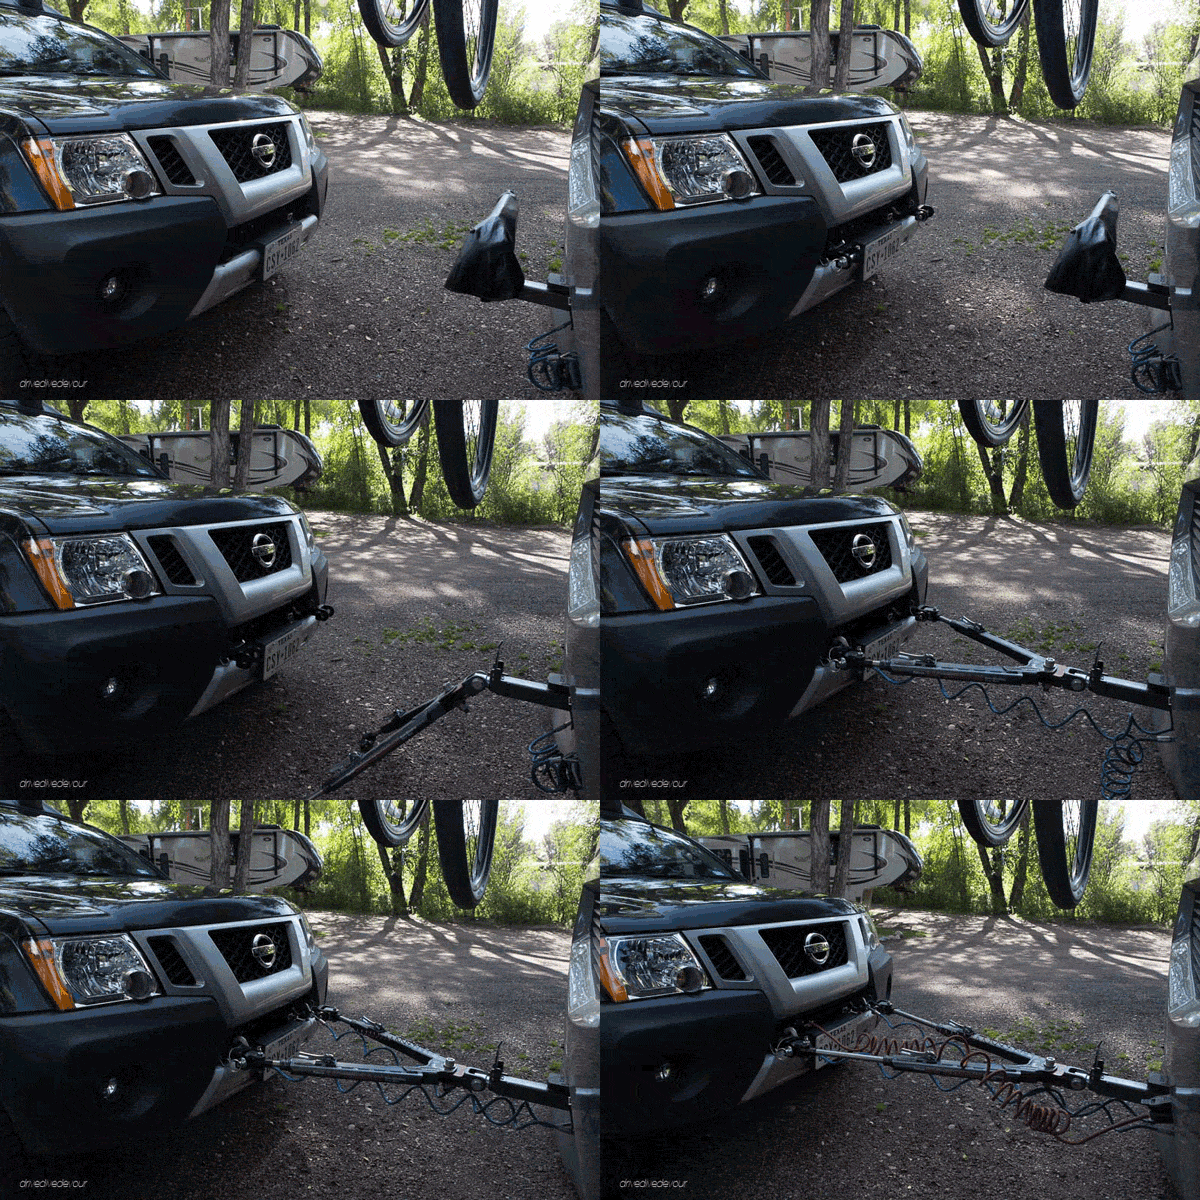
Quite often when you hitch up the toad, only one of the tow arm extensions will fully extend and lock in place. I make a quick little back and forth turn in the motorhome (left then right) when I start out so both tow arms extend and lock in place.
Good information, would like to read about the exact tow bar you choose to install. Also as in previous comment having an idea of installation cost would be a good reference starting point.
Any thoughts on stopping rocks from hitting the toad? Mud flaps on the RV or shields either vertical or horizontal?